Answer first
World 1 has five tested Levels
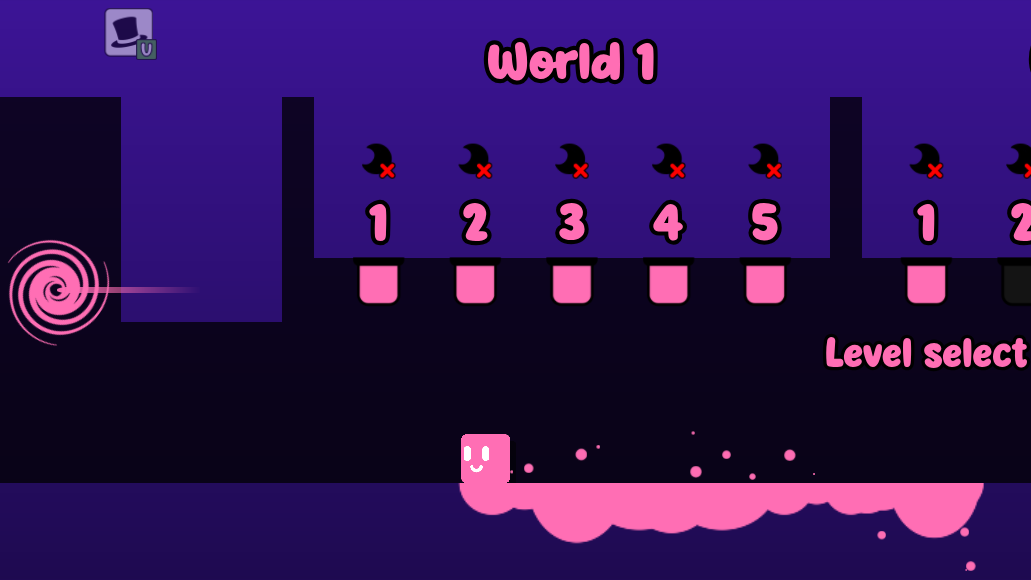
The current selector displayed World 1, Levels 1–5. We completed all five on July 26, 2026, which unlocked World 2, Level 1. The five moon icons remained marked with red X symbols, confirming that none of the World 1 moons was needed for these successful finish attempts.
This does not prove that moons are optional in every World or every later game version. The result applies only to the five Levels directly tested here.
Direct-play evidence: S13
World 1 · Level 1
movement tutorial
Starting layout
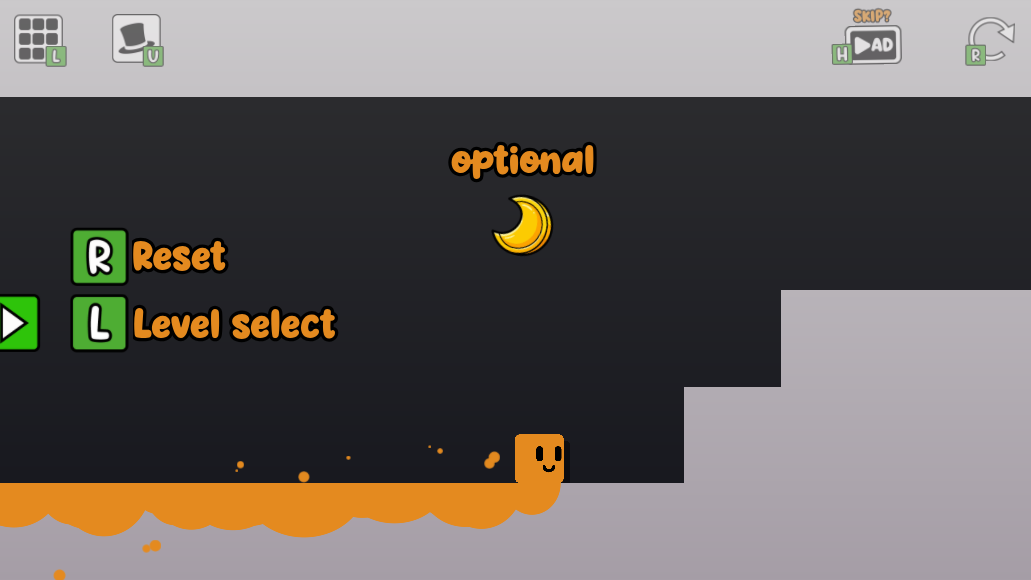
Oozy starts on the lower-left side of a scrolling tutorial room. The first view labels jump, movement, reset and Level select; the next view labels the crescent moon optional.
Finish and moon
Finish: Above the upper-right platform, after the three-step climb.
Moon: Above and left of the finish approach, next to the visible optional label. It was not required in this successful test.
Tested route
Move right through the control labels. At the stepped wall, hold right and use two controlled jumps to reach the upper platform. Leave the moon to the left, move beneath the finish and jump into the orange square.
Safer approach and common failures
Safer approach: Release horizontal input after each step so Oozy settles before the next jump, then line up directly below the finish.
- Walking under the elevated finish without jumping into it
- Holding right too long on the final platform and having to correct left
- Treating the moon as mandatory even though this Level labels it optional
World 1 · Level 2
tall-shape return
Starting layout
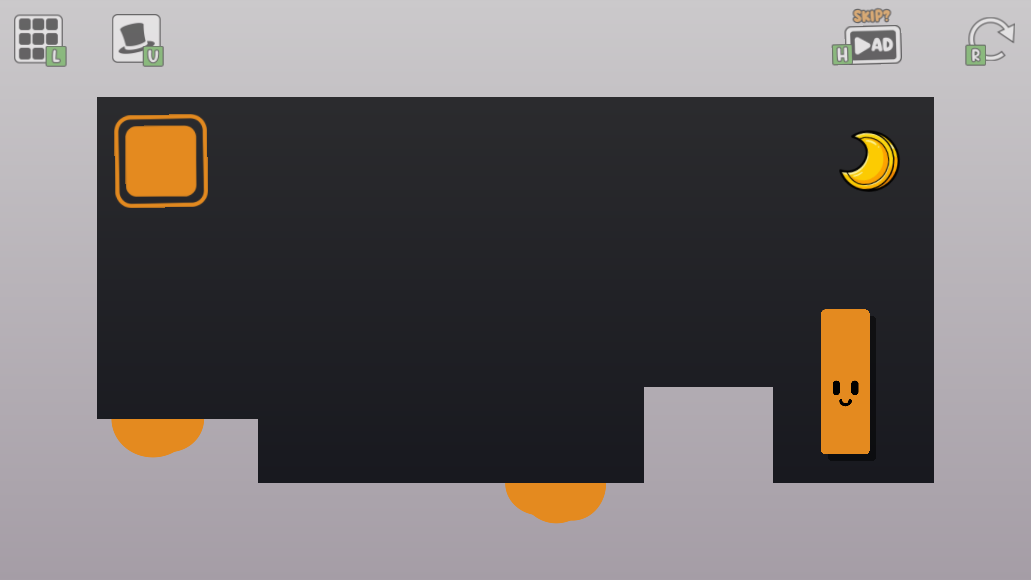
Oozy starts at the lower-left. The finish is high on the left, the moon is high on the right, and a red vertical shape item hangs over the lower route near the right side.
Finish and moon
Finish: High on the left, above the starting platform.
Moon: High on the right side of the room. It was not required in this successful test.
Tested route
Move right into the lower channel and jump through the red vertical item. In the tall form, travel back left, jump onto the starting ledge and jump again into the finish above it.
Safer approach and common failures
Safer approach: After changing shape, use one jump per ledge and release horizontal input before the final jump into the finish.
- Returning left before touching the red shape item
- Overshooting the left ledge while the taller form is airborne
- Jumping toward the moon instead of reversing toward the finish
World 1 · Level 3
three-switch lift
Starting layout
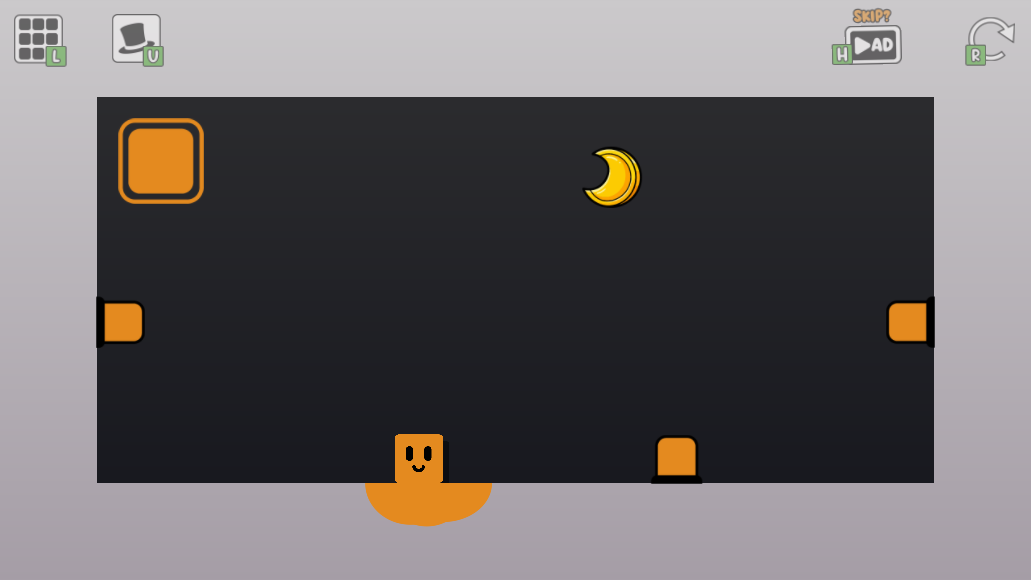
Oozy starts near the lower center of one open room. The finish is upper-left, the moon is near the top center, and orange switches protrude from the left wall, right wall and floor.
Finish and moon
Finish: High on the left wall.
Moon: Near the top center of the room. It was not required in this successful test.
Tested route
The tested route pressed the left-wall switch, landed on the floor switch, then jumped into the right-wall switch. After all three had retracted, jump onto the raised center platform, settle on top, then jump left into the finish.
Safer approach and common failures
Safer approach: Check that each switch has changed from orange to its dark retracted base before leaving it. On the center platform, wait until Oozy lands before making the final jump.
- Touching the wall near a switch without making the orange switch retract
- Trying to reach the finish before the center platform is high enough
- Starting the final jump while Oozy is still airborne above the center platform
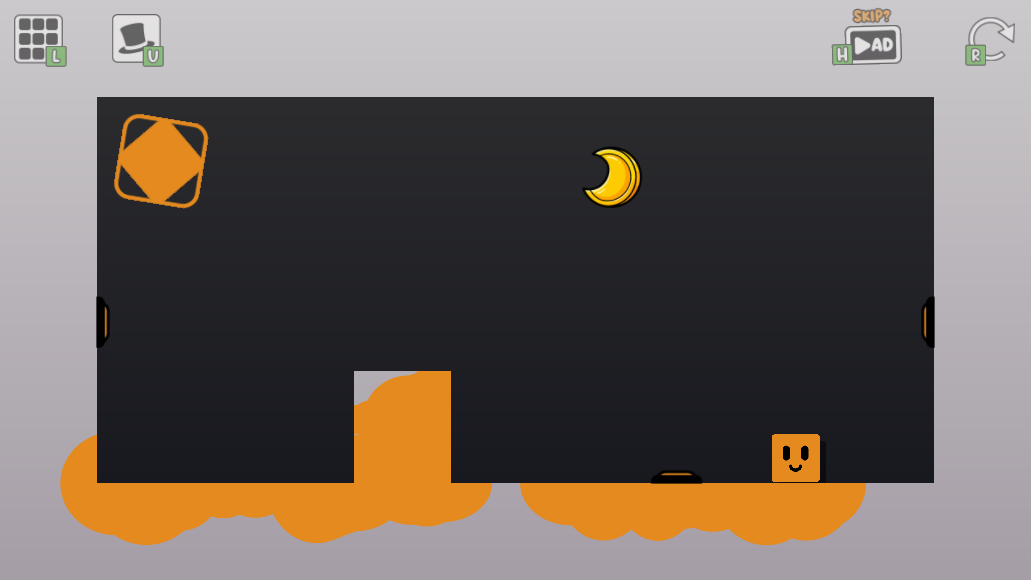
World 1 · Level 4
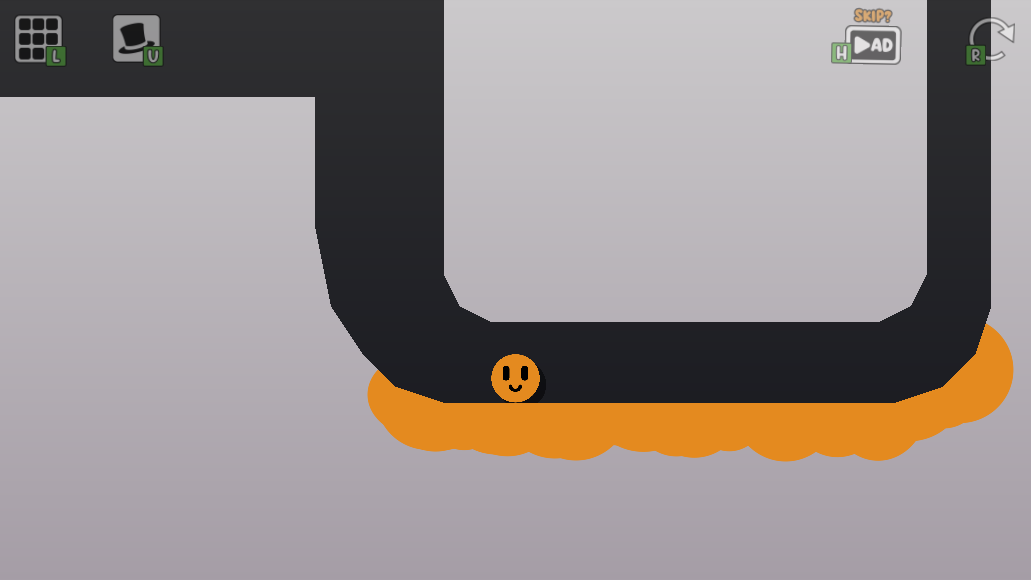
ball-form tube
Starting layout
Oozy starts in a round form at the lower-left entrance of a long, camera-scrolling dark tube.
Finish and moon
Finish: Above the ledge at the end of the tube, after the lower U-shaped turn.
Moon: Its exact position was not recorded in the saved route. It was not required in this successful test.
Tested route
Hold right through the opening horizontal tube and around the first downward bend. Let the ball settle at the bottom of the U, then hold left across the lower run and up the left bend. At the final ledge, jump into the finish.
Safer approach and common failures
Safer approach: Release movement at each deep bend and let gravity place the ball on the lower surface before reversing direction.
- Continuing to hold right after reaching the bottom U-turn
- Reversing direction before the ball has settled at the bottom
- Rolling beneath the elevated finish without making the final jump
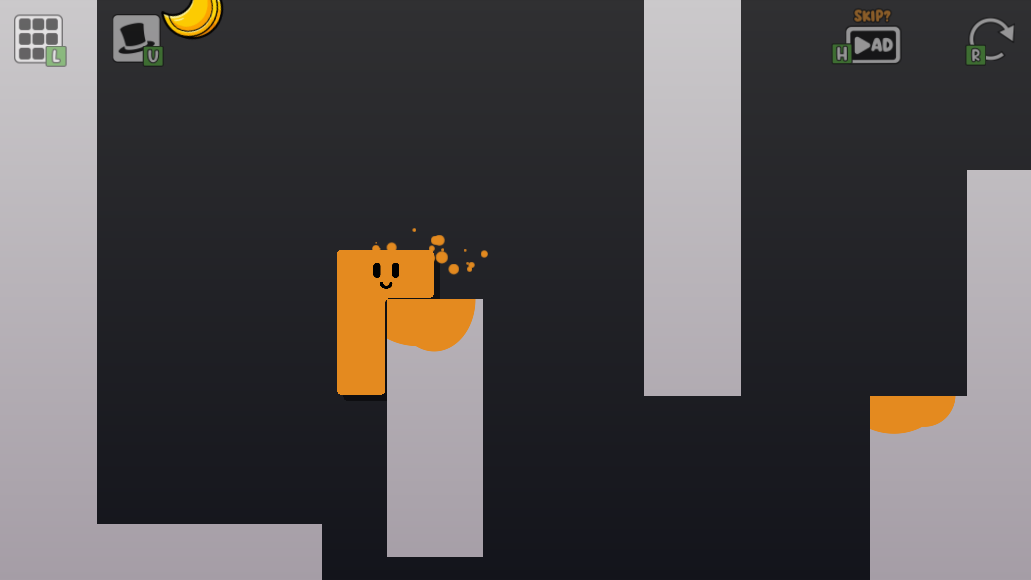
World 1 · Level 5
L-shape climb
Starting layout
Square Oozy starts on a right-side ledge in a larger scrolling room. A red L-shaped item is in the lower-left section, the moon is above the first pillar, and the finish is high on the right.
Finish and moon
Finish: High on the right, above two successive ledges.
Moon: Above and left of the first pillar used on the return route. It was not required in this successful test.
Tested route
Move left from the starting ledge and drop into the lower channel. Jump into the red L-shaped item, then reverse right. Jump onto the first pillar, jump past the hanging center barrier, and climb the two right ledges with separate jumps before entering the finish.
Safer approach and common failures
Safer approach: If the long jump from the first pillar drops into the lower-right channel, jump while pressing right against the wall; the L shape can catch the ledge, allowing the route to continue.
- Trying the upper route before collecting the L-shaped form
- Attempting to clear the first pillar and every right ledge in one jump
- Pressing against the right wall without jumping to hook the ledge
What was and was not tested
Playtest boundary
- Test environment
- Chrome 150.0.7871.114 on Linux (X11), using keyboard input.
- Build and host
- The live official Poki page was checked on July 26, 2026.
- Verified result
- All five World 1 finishes worked without collecting a moon.
- Not generalized
- Mobile timing, other Worlds and future build changes remain separate tests.
The local screenshots are our own game-only captures. No Poki promotional image, YouTube frame or third-party portal artwork is used on this page.
Visible source record
Sources
- Open source ↗S13 Oozy's Lab current-build direct playtestOozysLabGame.com editorial playtest · direct current-version playtest on the official host · checked July 26, 2026
The playtest used Chrome 150.0.7871.114 on Linux (X11), keyboard input and a visible game canvas. Local game-only screenshots were saved with capture metadata for the directly tested Worlds. The observed five-Level layouts apply only to Worlds 1 and 2 in the checked build; no fixed structure or moon rule is inferred for other Worlds.
- Open source ↗S1 Oozy's Lab on PokiPoki · official game host · checked August 2, 2026
Poki's July 2026 release metadata is recorded separately from the developer page and forum launch dates. The moon wording is not treated as proof that every current level has the same completion condition. S13 directly completed the five tested World 1 Levels without collecting their moons.