Answer first
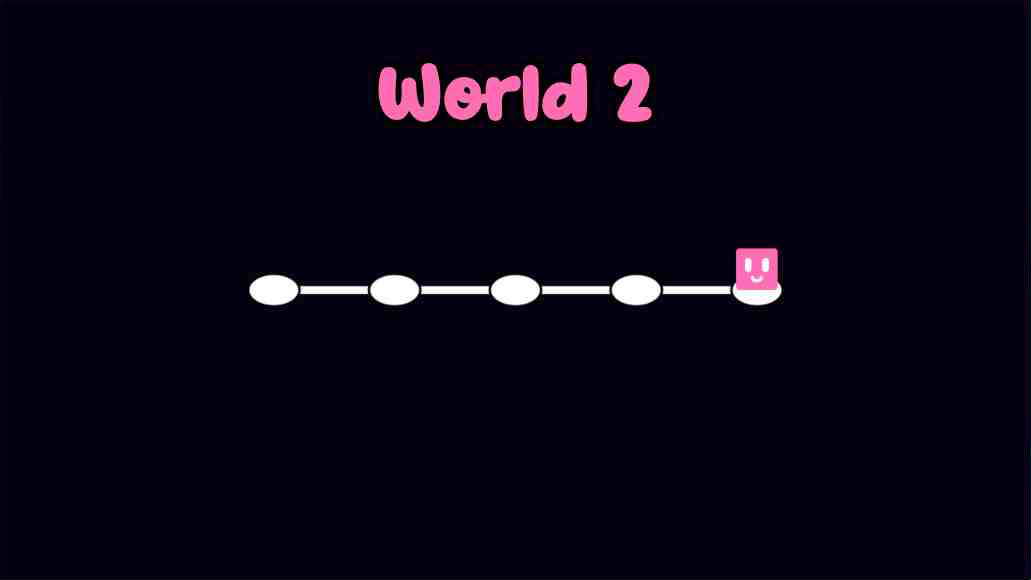
All five visible World 2 Levels were completed
The checked World 2 progress display contained five nodes. We completed the corresponding five Levels on July 26, 2026, and the final progress screen placed Oozy on the fifth node.
Levels 1 and 3 were completed with their moon icons still marked missing. Level 2’s tested route collected its moon. The post-finish moon state for Levels 4 and 5 was not rechecked, so this guide does not claim one moon rule for the whole World.
Current-build evidence: S13. Recorded-route cross-check: S8.
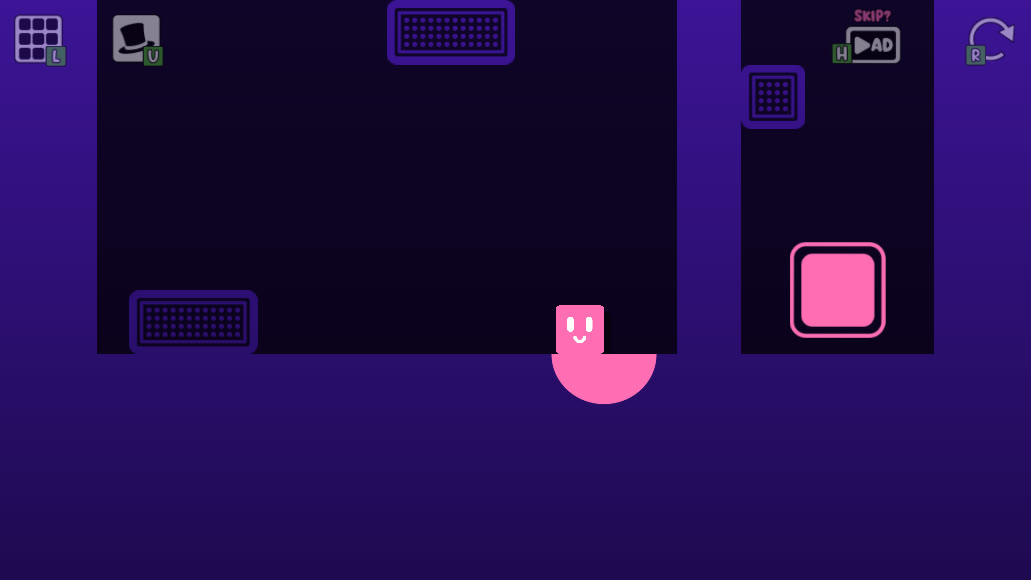
World 2 · Level 1
spring-pad shaft
Starting layout
Oozy starts near the lower center of a tall room. Gridded spring pads sit at the lower-left, upper-middle and along the right-side shaft, while the finish is low in that shaft.
Finish and moon
Finish: Near the bottom of the narrow right-side shaft.
Moon: Its exact position was not recorded in the saved current-build route. The finish worked without collecting it; the selector still showed a red X for this Level.
Tested route
Move left onto the low gridded pad and let it launch Oozy. Correct right in the air to land on the middle pad, then continue right to the pad beside the shaft. After the final launch, reduce horizontal input and drop down the right shaft into the finish.
Safer approach and common failures
Safer approach: Make one correction per launch and release the direction key before each landing. On the last bounce, line up with the shaft before allowing Oozy to fall.
- Holding right too long after the middle launch and returning to the bottom instead of landing on the next pad
- Correcting left too strongly after the right-side launch and missing the shaft
- Jumping repeatedly instead of letting a spring pad complete its launch
Evidence chain: current-build completion S13; recorded route cross-check S8, approximately 0:50–1:00.
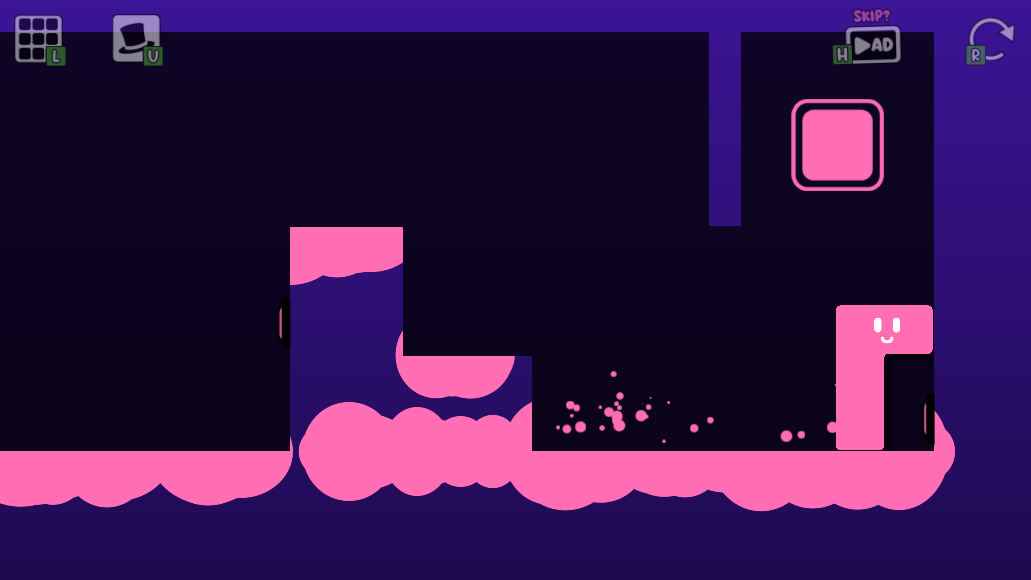
World 2 · Level 2
two switches and L-shape
Starting layout
Square Oozy starts at the lower-left of a wide room. A purple L-shaped structure divides the floor, small pink wall switches sit on its sides, a red L-shaped changer hangs high on the left, the moon is low on the right and the finish is upper-right.
Finish and moon
Finish: High on the right, above the final floor section.
Moon: Low on the right side of the opening room state. The tested route collected it, so this playtest does not establish whether it is required.
Tested route
Jump right into the small switch beside the central structure, continue to the far-right switch and return to the structure's right side. Enter the rotating pink half-circle and use its launch to steer left into the red L-shaped changer. As the tall L form, move right, climb over the central structure and jump into the upper-right finish.
Safer approach and common failures
Safer approach: After each switch, wait until the nearby pink room surface has changed before moving on. During the launch toward the red changer, use a short left correction; a long correction passes underneath or beyond it.
- Leaving the first switch before making contact with its pink face
- Trying to reach the red changer before triggering the far-right switch
- Holding left too long after the rotating-platform launch and overshooting the red changer
- Attempting the final climb while still in the square form
Evidence chain: current-build completion S13; recorded route cross-check S8, approximately 1:04–1:14.
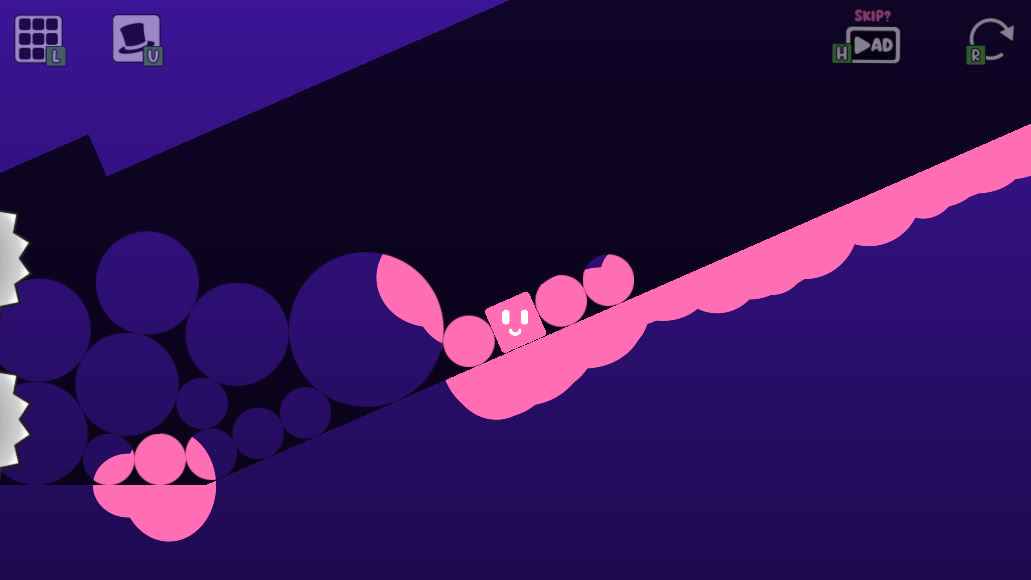
World 2 · Level 3
rolling-obstacle slope
Starting layout
Oozy begins in a pink bowl at the lower-left. Two large saws are mounted along the left edge, and a long rising path to the right is crowded with rolling circular obstacles.
Finish and moon
Finish: At the upper-right end of the long rising route.
Moon: Above the middle section of the rising route in the recorded and checked layout. The finish worked without collecting it; the selector still showed a red X for this Level.
Tested route
Hold right up the incline and use short jumps whenever the rolling circles bunch in front of Oozy. Keep the rightward input through the open gaps and repeat the jump rhythm until the finish is reached at the top.
Safer approach and common failures
Safer approach: Avoid jumping into the center of a dense cluster. Let the front circles roll slightly uphill, then jump across the thinnest part while continuing right.
- Moving left at the start and contacting the saws
- Stopping inside a cluster until the rolling circles pin Oozy against the slope
- Using one long jump and losing forward momentum on landing
Evidence chain: current-build completion S13; recorded route cross-check S8, approximately 1:18–1:26.
World 2 · Level 4
rotating-platform launch
Starting layout
Square Oozy starts at the lower-left beside a red vertical changer. Beyond it, a tall chamber contains several pink rotating half-circles and circular platforms; the moon is upper-left and the finish is upper-right.
Finish and moon
Finish: High on the right side of the rotating-platform chamber.
Moon: High on the left side of the chamber. Its post-finish state was not rechecked, so the requirement remains unknown.
Tested route
Move right through the red changer and continue across the low pink surfaces to the right-side launcher. Let it throw the horizontal form upward, then steer left across the middle platform and onto the left launcher. Allow that platform to send Oozy high again, then steer right into the finish.
Safer approach and common failures
Safer approach: Use brief corrections while airborne and release the direction key before landing. Let each platform rotate and launch the bar instead of trying to jump off at an arbitrary angle.
- Crossing the lower chamber before touching the red changer
- Holding left too long after the right-side launch and falling onto the lower-left floor
- Reversing direction before the middle or left platform has completed its launch
- Holding right too early on the final ascent and striking the wall below the finish
Evidence chain: current-build completion S13; recorded route cross-check S8, approximately 1:30–1:38.
World 2 · Level 5
two-form saw crossing
Starting layout
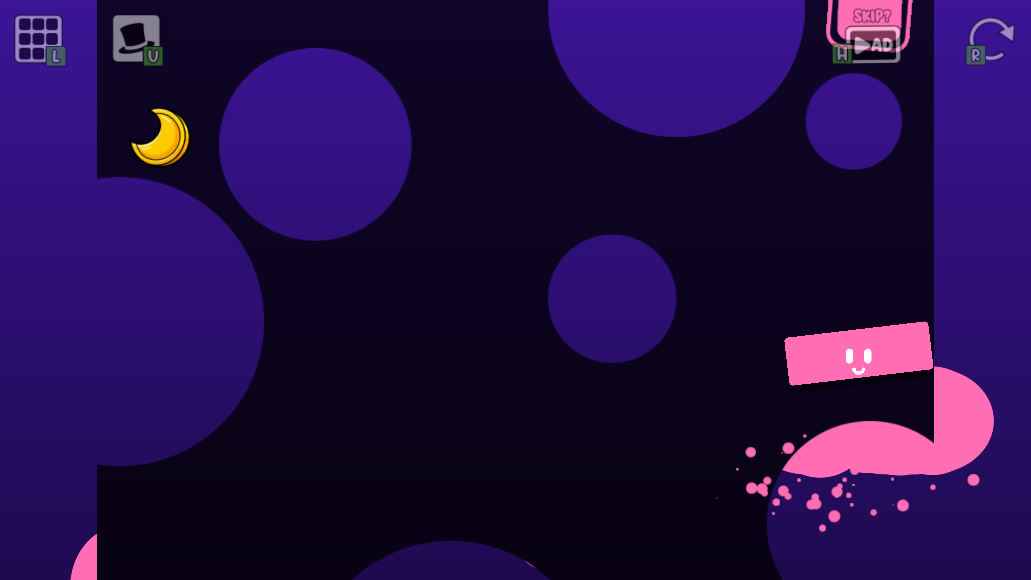
Square Oozy starts on the lower-left platform above a large saw. A short red changer is near the middle, a vertical red changer stands on the right, the moon is upper-left and the finish is in the upper-right recess.
Finish and moon
Finish: Inside the square target in the upper-right recess.
Moon: High on the left side of the room. Its post-finish state was not rechecked, so the requirement remains unknown.
Tested route
Move and jump right across the opening platform to the middle changer, then continue to the vertical changer on the far right. Use the changed form and the bouncing floor to travel back left, wait for the next upward launch, and steer right across the top of the room into the finish.
Safer approach and common failures
Safer approach: Use a sequence of short jumps while crossing the lower platform and keep Oozy above the ledge line. After each shape change, allow one bounce to establish the new form's timing before reversing direction.
- Dropping below the platform into the central saw
- Reversing left before touching the right-side changer
- Holding a direction continuously through a shape change and sliding off the platform
- Steering right before the final bounce has gained enough height
Evidence chain: current-build completion S13; recorded route cross-check S8, approximately 1:42–1:48.
What was and was not tested
Playtest boundary
- Test environment
- Chrome 150.0.7871.114 on Linux (X11), using keyboard input.
- Build and host
- The live official Poki page was checked on July 26, 2026.
- Verified result
- All five displayed World 2 progress nodes were completed.
- Still separate
- Mobile timing, later Worlds and future game updates need their own checks.
S8 supplied a route comparison, but every published control sequence was also completed against the current build. Its video frames are research inputs only and are not used as this page’s images.
Visible source record
Sources
- Open source ↗S13 Oozy's Lab current-build direct playtestOozysLabGame.com editorial playtest · direct current-version playtest on the official host · checked July 26, 2026
The playtest used Chrome 150.0.7871.114 on Linux (X11), keyboard input and a visible game canvas. Local game-only screenshots were saved with capture metadata for the directly tested Worlds. The observed five-Level layouts apply only to Worlds 1 and 2 in the checked build; no fixed structure or moon rule is inferred for other Worlds.
- Open source ↗S8 Oozy's Lab Poki GameYouTube · third-party gameplay video · checked August 2, 2026
Rechecked August 2, 2026 against the exact video ID's YouTube storyboards and 638 browser captures sampled every two source seconds. A July 27 note had mistakenly treated frame indices as elapsed seconds and therefore understated the recording as Worlds 1–5; visible labels establish that it reaches World 14. The uploader description calls the moon a target, while the visible tutorial calls that moon optional. Neither statement is generalized to every current Level. No video frame may be republished as site artwork.
- Open source ↗S1 Oozy's Lab on PokiPoki · official game host · checked August 2, 2026
Poki's July 2026 release metadata is recorded separately from the developer page and forum launch dates. The moon wording is not treated as proof that every current level has the same completion condition. S13 directly completed the five tested World 1 Levels without collecting their moons.