Answer first
All five visible World 3 Levels were completed
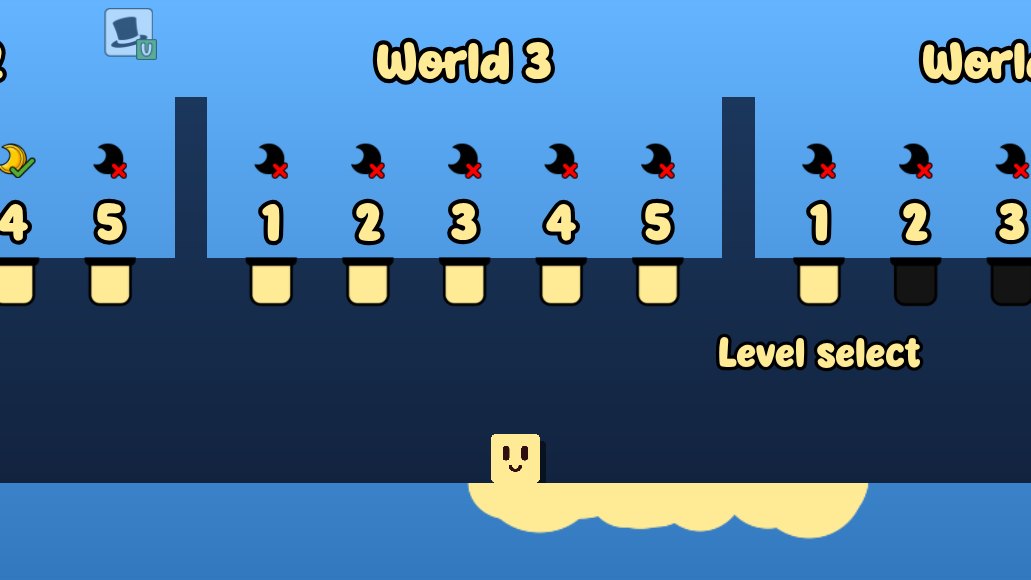
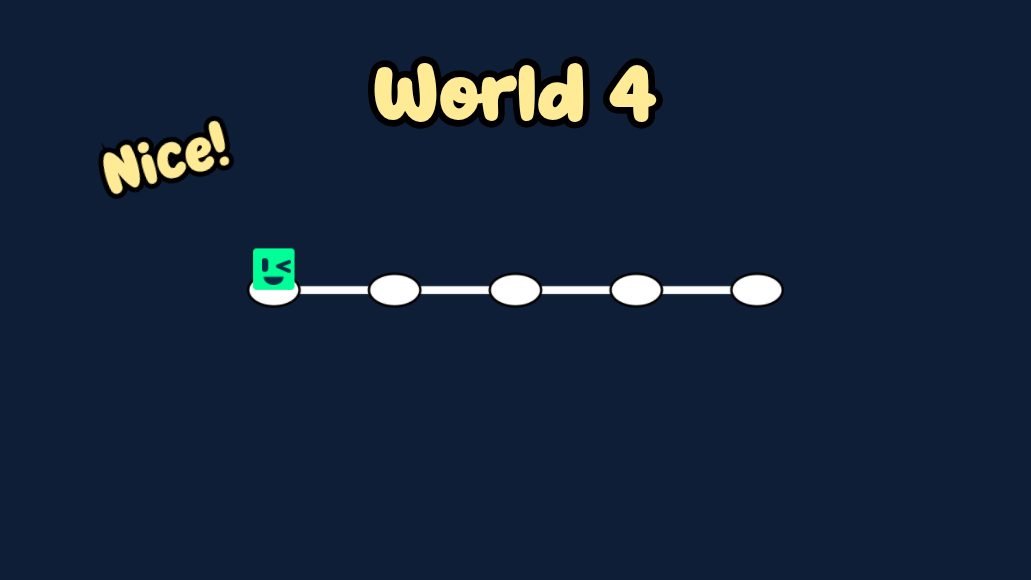
The current selector displayed World 3, Levels 1–5. We completed all five on July 27, 2026, and the Level 5 finish opened World 4, Level 1.
Each successful World 3 route left its moon uncollected. A selector check then showed red X marks over all five World 3 moon icons. That result is limited to these five tested Levels; it is not a rule for the whole game.
Current-build evidence: S14. Recorded-route cross-check: S8.
World 3 · Level 1
two-signal moving platform
Starting layout
Oozy starts on the lower-left ledge above a row of saws. A wide orange platform sits over the saw floor, its first button is near the middle of the route, and a second button is on the far-right ledge.
Finish and moon
Finish: High on the right, above the ledge that holds the second button.
Moon: High above the central moving-platform route. The tested finish worked without collecting it.
Tested route
Jump onto the center button and remain near the middle of the orange platform while it travels right. Jump to the far-right ledge and press its button. Wait for the orange platform to rise, jump left onto its top, then jump right into the finish.
Safer approach and common failures
Safer approach: Do not chase the moving edge. Settle near the platform center during the horizontal move, and wait until the vertical move stops before jumping back onto it.
- Leaving the platform before its horizontal movement reaches the right side
- Touching the far-right ledge without depressing its button
- Jumping back left before the raised platform is high enough
- Dropping between the ledges into the saw row
Evidence chain: current-build completion S14; recorded route cross-check S8, approximately 1:54–2:06.
World 3 · Level 2
switch route over saws
Starting layout
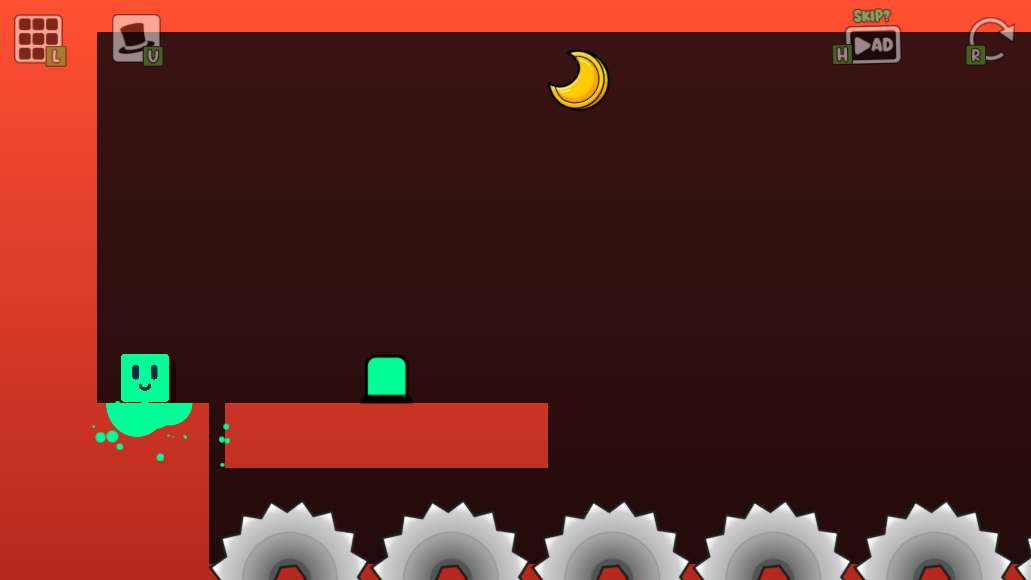
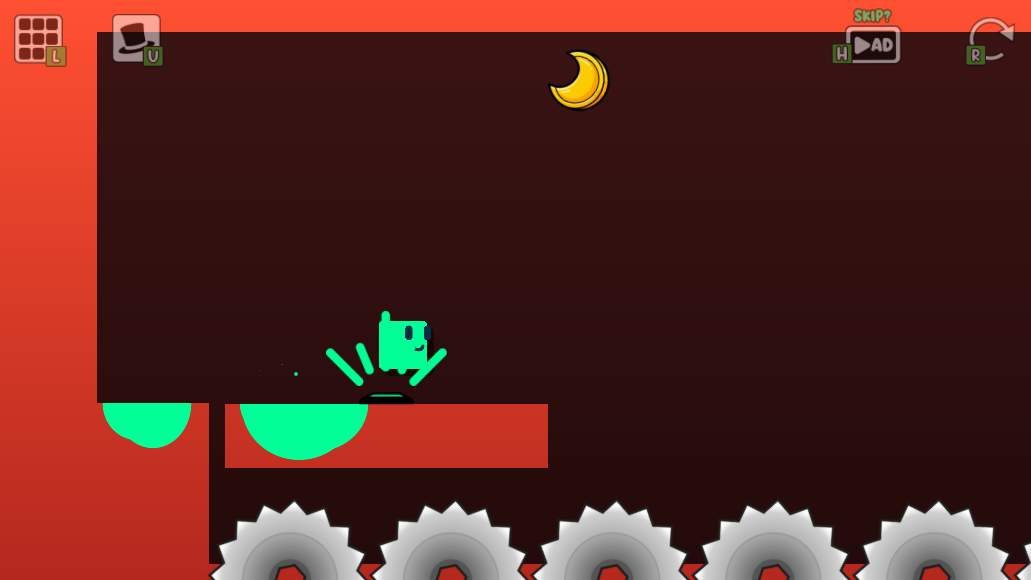
Oozy starts on a small lower-left ledge. The finish is high on the left, a moon is above the center, five large saws cover the floor, and three green button faces are visible around the room.
Finish and moon
Finish: High on the far-left wall.
Moon: Above the middle of the saw-floor route. The tested finish worked without collecting it.
Tested route
Press the low button next to the starting ledge, then use separate jumps across the safe orange sections toward the right wall. Follow the two right-side landings and confirm that the return sections have shifted before reversing. Jump back left across the ledges and use the final left landing to enter the finish above.
Safer approach and common failures
Safer approach: After each signal, stop long enough to see where the orange ledges settle. Make one jump per ledge and begin the return only after the second room change is visible.
- Jumping over the first button without triggering the initial room change
- Continuing across while a safe ledge is still moving
- Reversing from the right side before the return layout is ready
- Trying to jump directly across the full saw row
Evidence chain: current-build completion S14; recorded route cross-check S8, approximately 2:08–2:20.
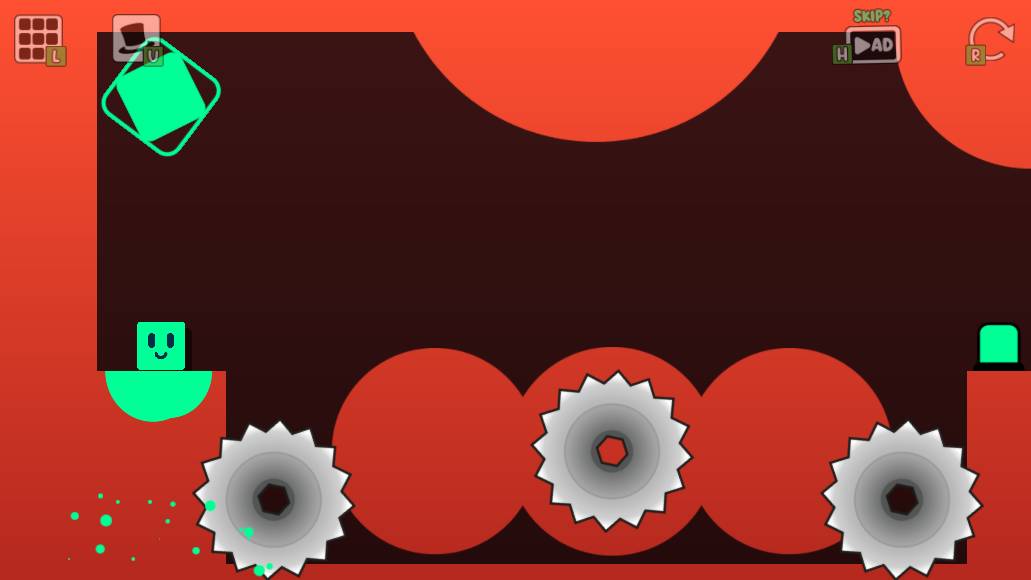
World 3 · Level 3
round-platform return
Starting layout
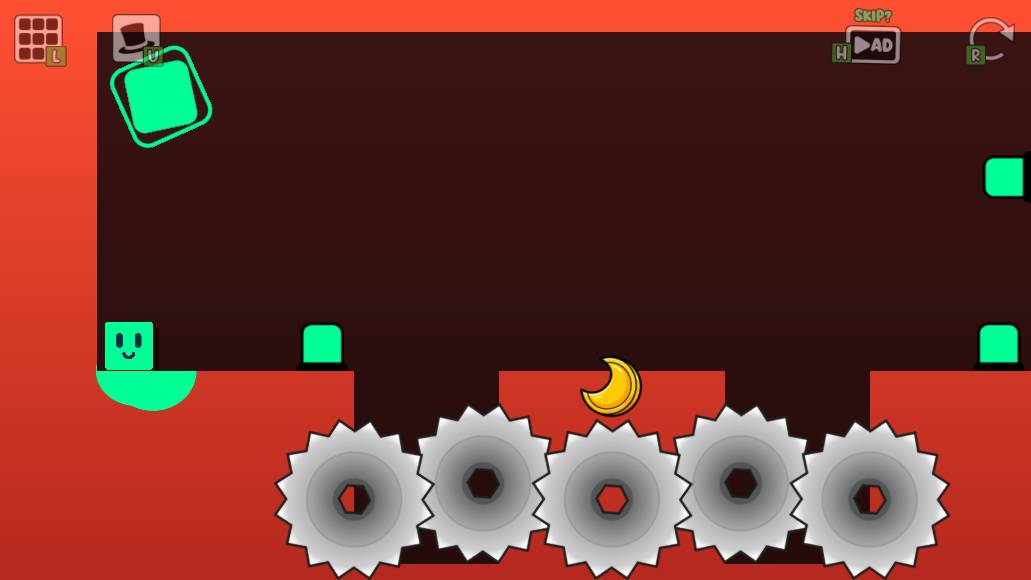
Oozy starts on the left ledge. Two large round orange platforms and three saws fill the gap, while a green button sits on the far-right ledge and the finish is high on the left.
Finish and moon
Finish: High on the far-left wall.
Moon: Its exact current-build position was not saved. The tested finish worked without collecting it.
Tested route
Use one jump to settle on each large round platform, then jump to the far-right ledge and press its button. Reverse direction, cross the same two large platforms, and keep the final leftward jump high enough to enter the finish on the left wall.
Safer approach and common failures
Safer approach: Aim for the broad top of each large round platform and release horizontal input after landing. The raised small round platform is a recovery aid, but the tested finish jump worked from the left return landing.
- Landing on the sloped side of a round platform and sliding toward a saw
- Leaving the right ledge before its button retracts
- Overshooting a platform while reversing direction
- Dropping below the upper-left finish on the last jump
Evidence chain: current-build completion S14; recorded route cross-check S8, approximately 2:22–2:34.
World 3 · Level 4
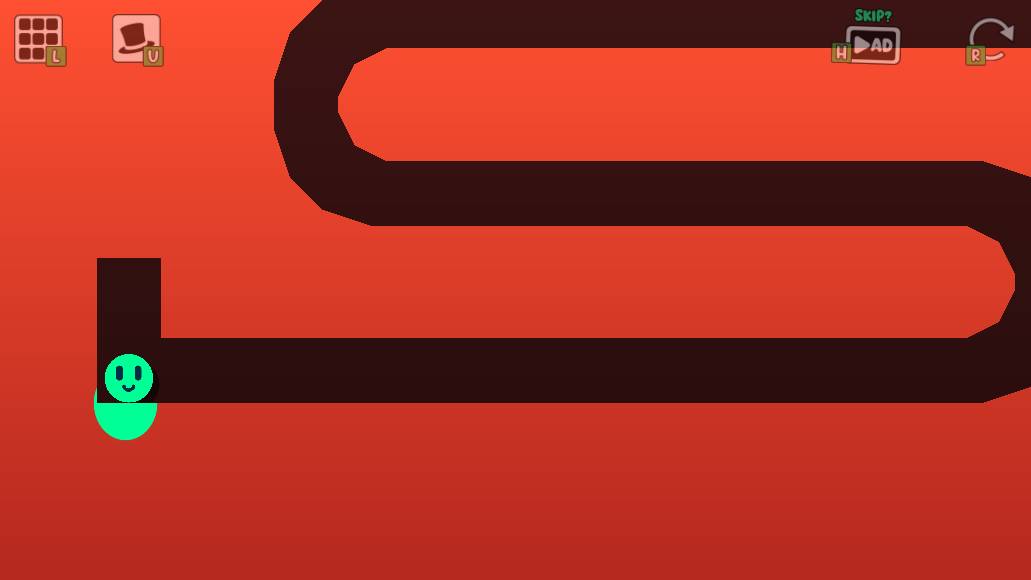
ball-form S-tube
Starting layout
Round Oozy starts at the lower-left entrance of a long S-shaped tube. The route later opens into a scrolling corridor and a saw field.
Finish and moon
Finish: At the far-right end after the open saw-field section.
Moon: Its exact current-build position was not saved. The tested finish worked without collecting it.
Tested route
Hold right along the lower run and let the ball settle through the first turn. Roll left across the middle run and through the next turn, then reverse right along the upper run and drop into the exit corridor. Keep moving right and use repeated controlled jumps across the saw field until the finish is reached.
Safer approach and common failures
Safer approach: Release movement briefly at both deep turns so gravity places the ball on the new lower surface. In the saw section, jump again only after Oozy has landed on a safe strip.
- Failing to reverse direction after the first tube turn
- Reversing again before the ball has completed the second turn
- Rolling out of the tube and continuing without jumping over the saws
- Jumping too early in the saw field and landing short
Evidence chain: current-build completion S14; recorded route cross-check S8, approximately 2:36–2:40.
World 3 · Level 5
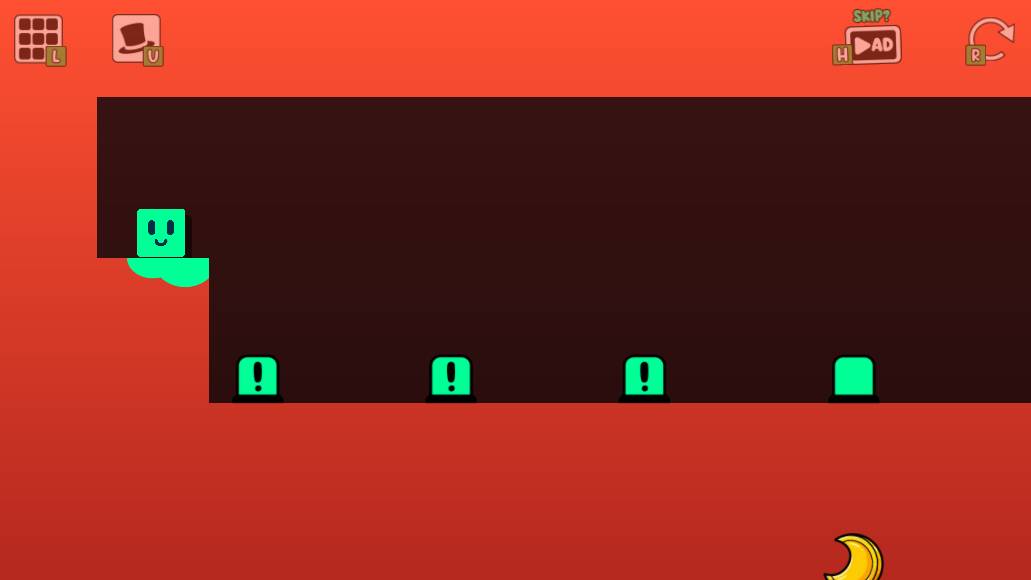
middle alarm button
Starting layout
Oozy starts on an elevated left ledge. Three A alarm buttons line the floor, a B button rides on an orange platform farther right, a saw sits below it, and a B-controlled wall blocks the finish.
Finish and moon
Finish: On the far right, beyond the vertical wall controlled by B.
Moon: Below the A-linked platform and above the saw in the lower middle of the room. The tested finish worked without collecting it.
Tested route
Begin moving right before leaving the starting ledge, jump over the first alarm button and land on the middle one. That single A signal raises the orange platform to a reachable height. Jump right onto its B button, wait for the wall ahead to rise, then continue right into the finish.
Level 5 check: press only the middle A alarm button. Pressing extra A buttons raises the B platform above the tested normal jump route; restart with R if that happens.
Safer approach and common failures
Safer approach: Check the room before continuing: the first and third exclamation marks should still be visible after the middle button retracts. If another A button was pressed and B is too high, use R and repeat the one-button route.
- Landing on the first A button instead of clearing it
- Pressing two or three A buttons and raising B above the normal jump route
- Jumping toward B before the orange platform stops moving
- Running into the B-controlled wall before it has risen
Evidence chain: current-build completion S14; recorded route cross-check S8, approximately 2:44–2:50.
What was and was not tested
Playtest boundary
- Test environment
- Chrome 150.0.7871.114 on Linux (X11), using keyboard input.
- Build and host
- Live Poki project version 1.3.1.1, checked July 27, 2026.
- Verified result
- All five displayed World 3 slots were completed without their moons.
- Still separate
- Mobile timing, later Worlds and future game updates need their own checks.
S8 supplied a route comparison, but each published control sequence was also completed against the current live build. Its video frames remain private research inputs and are not used as page images.
Visible source record
Sources
- Open source ↗S14 Oozy's Lab World 3 current-build direct playtestOozysLabGame.com editorial playtest · direct current-version playtest on the official host · checked July 27, 2026
The playtest used Chrome 150.0.7871.114 on Linux (X11), keyboard input and a visible game canvas. Local game-only screenshots include each starting room, the completed World 3 selector and the World 4 unlock screen. S8 was used only to cross-check route order; no S8 frame is republished.
- Open source ↗S8 Oozy's Lab Poki GameYouTube · third-party gameplay video · checked August 2, 2026
Rechecked August 2, 2026 against the exact video ID's YouTube storyboards and 638 browser captures sampled every two source seconds. A July 27 note had mistakenly treated frame indices as elapsed seconds and therefore understated the recording as Worlds 1–5; visible labels establish that it reaches World 14. The uploader description calls the moon a target, while the visible tutorial calls that moon optional. Neither statement is generalized to every current Level. No video frame may be republished as site artwork.
- Open source ↗S1 Oozy's Lab on PokiPoki · official game host · checked August 2, 2026
Poki's July 2026 release metadata is recorded separately from the developer page and forum launch dates. The moon wording is not treated as proof that every current level has the same completion condition. S13 directly completed the five tested World 1 Levels without collecting their moons.