Answer first
All five visible World 5 Levels were completed
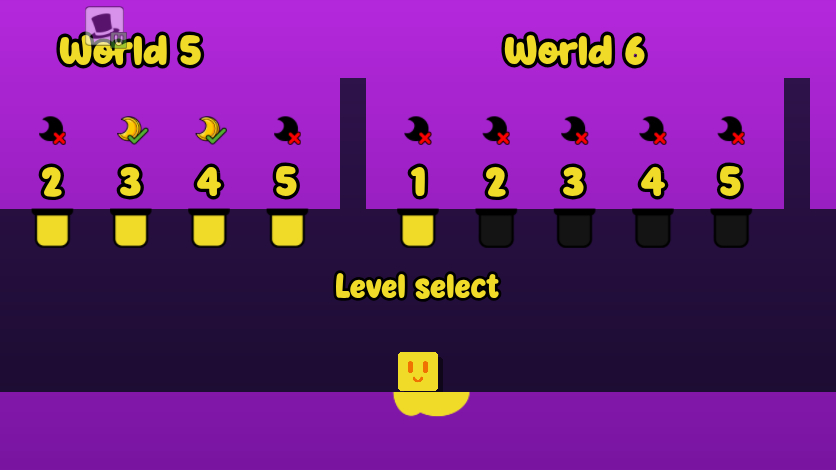
The current selector displayed World 5, Levels 1–5. We completed all five on July 27, 2026, and the Level 5 finish opened World 6, Level 1.
Levels 2 and 5 were finished without their moons. The tested routes for Levels 1, 3 and 4 collected their moons, so those three moon requirements remain unknown rather than being guessed.
Current-build evidence: S16. Recorded-route comparison where available: S8.
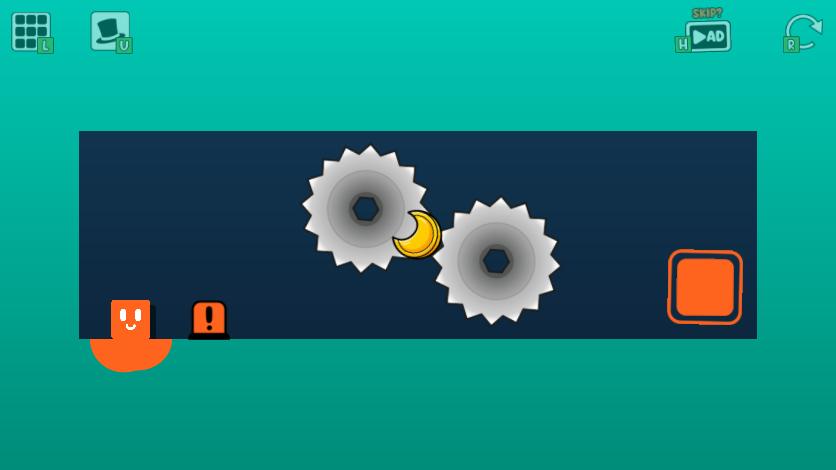
World 5 · Level 1
opposite-phase saw timing
Starting layout
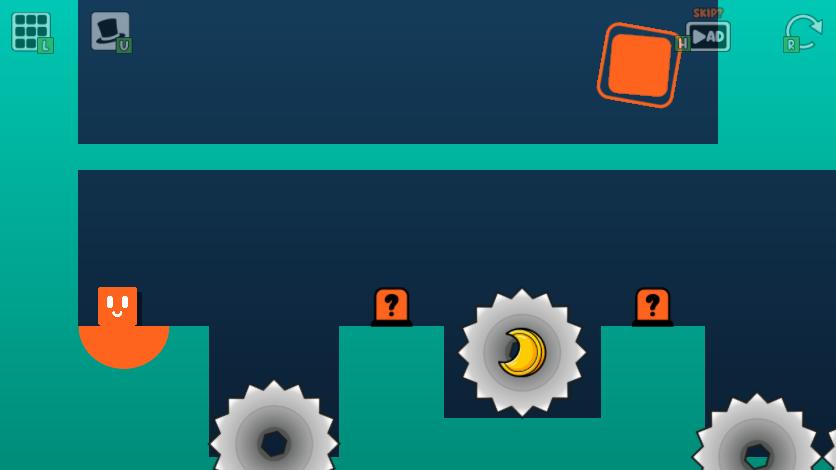
Oozy starts on the lower-left floor with an A button immediately to the right. Two large saws block the route, the moon hangs between them, and the finish is at the far right.
Finish and moon
Finish: At floor height on the far-right side of the room.
Moon: Between the two large moving saws. The tested route collected it; whether it is required was not separately verified.
Tested route
Press A, then wait until the two saws are in opposite useful positions: the left saw low and the right saw high. Hold right and use short repeated jumps to cross above the low left saw, continue below the high right saw, and enter the finish.
Timing cue: begin only when the left saw is near its low point and the right saw is high. This creates the tested over-then-under crossing window.
Safer approach and common failures
Safer approach: Watch one full part of the saw cycle before committing. Start the run only after the left blade is visibly near its low point; a continuous long jump gives less control than separate jumps after each landing.
- Running immediately after A without checking the saw phase
- Entering while the left saw is still high
- Using one long jump and rising into the right saw
- Treating the collected moon on this route as proof that it is required
Evidence chain: current-build completion S16; complete recorded route comparison S8, approximately 4:02–4:08.
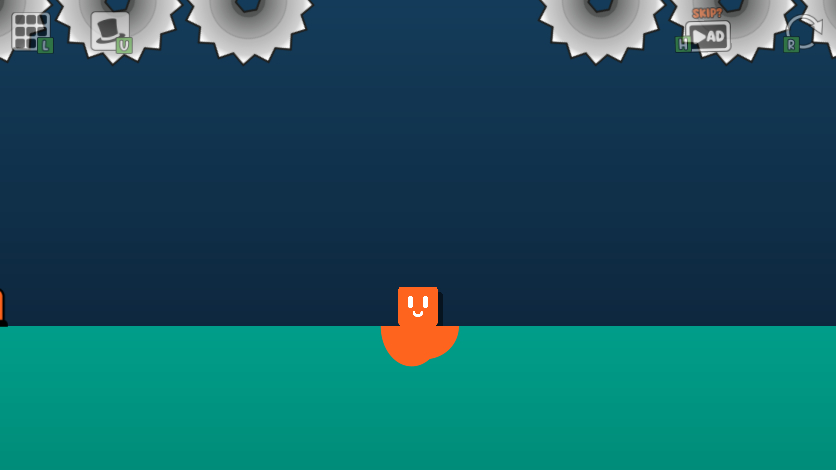
World 5 · Level 2
two-switch center finish
Starting layout
Oozy starts on the center floor. A is at the far left, B is at the far right, three ceiling saws hang over each side, the moon is on the left, and the finish begins high above the center.
Finish and moon
Finish: Above the center floor at the start; it descends after the two signals.
Moon: On the left side of the room, outside the tested finish-only route. The tested finish worked without collecting it.
Tested route
Run left from the center and press A. Reverse immediately, sprint all the way right and press B. Reverse again, stop near the center, and jump vertically into the finish after it descends.
Safer approach and common failures
Safer approach: Stay on the floor during both long runs so the ceiling saws remain above Oozy. Brake near the center after B instead of jumping while horizontal momentum is still carrying Oozy left.
- Jumping under the ceiling saw rows
- Pausing after A instead of starting the full rightward run
- Continuing left past the center after B
- Jumping before the finish has descended
Evidence chain: current-build completion S16; complete recorded route comparison S8, approximately 4:10–4:18.
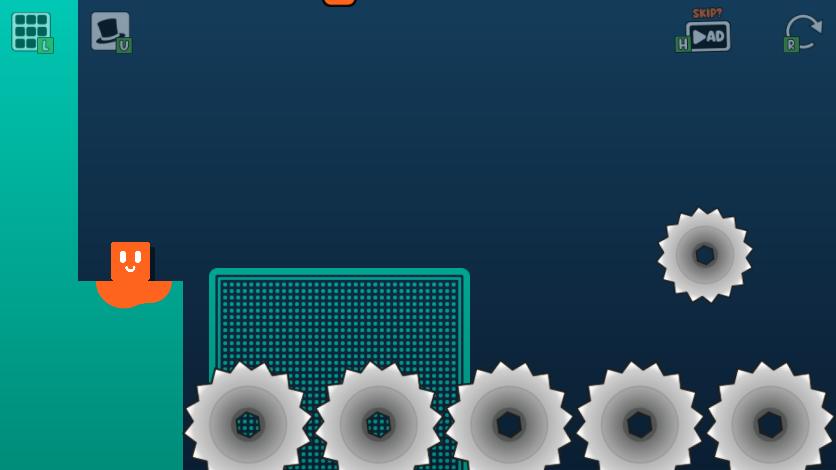
World 5 · Level 3
moving bouncy platform
Starting layout
Oozy starts on a left ledge beside a large gridded bouncy platform. A is on the ceiling near the start, a floor saw and a ceiling saw interrupt the route, and B is on the far-right ceiling.
Finish and moon
Finish: It changes position after B and descends into the returning platform route.
Moon: It changes position after B and rises into the returning platform route. The tested route collected it; whether it is required was not separately verified.
Tested route
Jump onto the gridded platform and bounce into ceiling A. As the platform moves right, stay slightly behind center before the floor saw, then move toward the front on a high bounce to pass it. Use a lower bounce beneath the ceiling saw. At the far right, hit ceiling B; on the return, ride through the changed moon and finish positions and enter the descended finish.
Safer approach and common failures
Safer approach: Make one position change at a time. Stay near the platform center until the next hazard is visible, use the front half for the high floor-saw pass, then reduce horizontal input so the next bounce stays under the ceiling saw.
- Standing too far forward before the floor-saw bounce
- Using a high bounce beneath the ceiling saw
- Missing B and riding the platform back before the room changes
- Treating the moon collected on the return as proof that it is required
Evidence chain: current-build completion S16; complete recorded route comparison S8, approximately 4:22–4:38.
World 5 · Level 4
rotating-room return
Starting layout
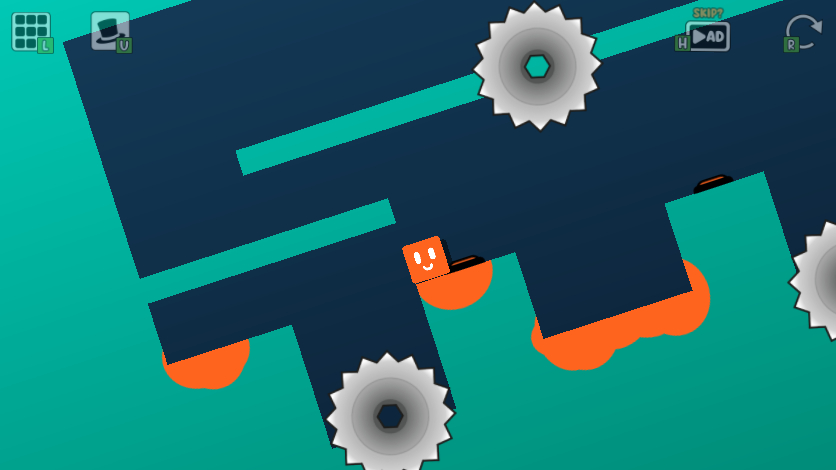
Oozy starts on the left floor. Three mystery rotation switches span the room, A is at the far right, a lower middle platform and several saws divide the return, the moon is near center, and the finish is high near center.
Finish and moon
Finish: High near the center of the room, reached from the upper return route.
Moon: Near the center, crossed by the tested lower return. The tested route collected it; whether it is required was not separately verified.
Tested route
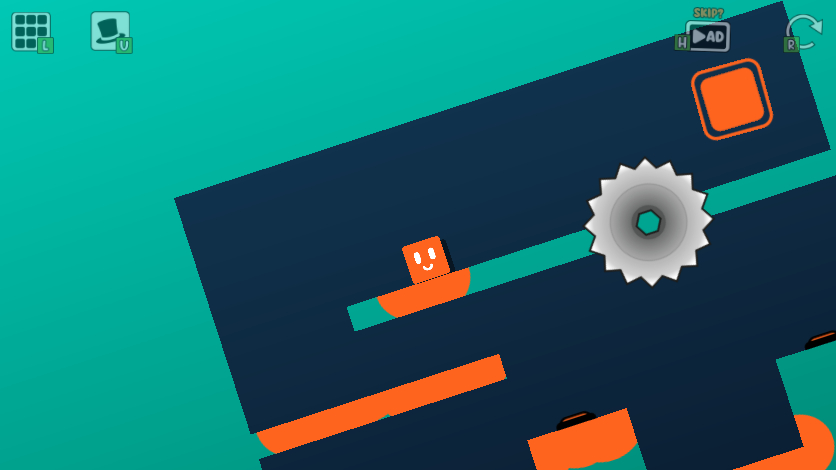
Cross right with short repeated jumps, pressing all three mystery switches and A. Let the far side settle, then jump left onto the lower platform and continue to the first pillar. Move to the right side of that pillar and stop completely before holding left and jumping onto the lowered left segment. Move left along it, settle, then jump right onto the upper route and cross over the raised central saw into the finish.
Critical return cue: on the first pillar, move to its right side and release direction until Oozy stops. Jumping left with residual rightward momentum repeatedly hit the underside of the lowered segment.
Safer approach and common failures
Safer approach: Treat the first return pillar as a reset point: move to its right side, release direction until Oozy stops, then make the left jump. On the lowered segment, settle near the left side before attempting the longer rightward jump to the upper route.
- Missing one of the three mystery switches on the outward run
- Leaving the far-right side before A has changed the route
- Jumping left from the first pillar while residual rightward momentum remains
- Hitting the underside of the lowered segment by jumping before reaching the pillar's right side
- Treating the collected moon on the return as proof that it is required
Evidence chain: current-build completion S16; complete recorded route comparison S8, approximately 4:42–4:54.
World 5 · Level 5
pursuing-saw platform return
Starting layout
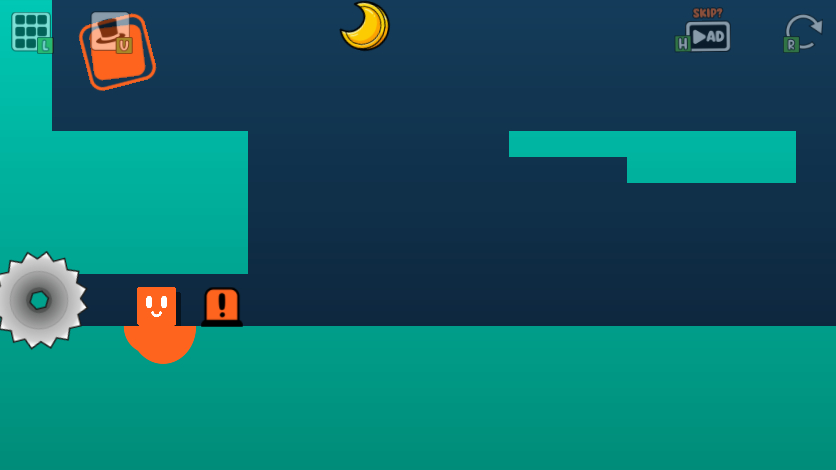
Oozy starts beneath a left overhead block beside a C alarm button. A buttons sit at the bottom-right and top-right, an A-controlled platform links the upper route, the finish is upper-left, and the moon is upper-center.
Finish and moon
Finish: On the upper-left side beyond the overhead starting block.
Moon: High near the center, outside the tested finish-only return. The tested finish worked without collecting it.
Tested route
Sprint right across C to the bottom-right A, which lowers the moving platform. Reverse immediately and use two separate left jumps: the first crosses the pursuing saw and the second lands on the lowered platform. Jump right to the fixed middle platform and then to the upper-right A. After that signal moves the lower platform left, return to the middle platform, jump down-left onto the moved platform, climb to the left block and continue left into the finish.
Chase cue: use two separate left jumps after the bottom-right A. The first crosses the pursuing saw; the second lands on the lowered moving platform.
Safer approach and common failures
Safer approach: Do not combine the return into one long jump. Land after crossing the pursuing saw, then make the second jump to the lowered platform. After pressing the upper A, confirm that the platform has moved left before dropping from the middle platform.
- Turning left before the bottom-right A lowers the platform
- Trying to cross the pursuing saw and reach the lowered platform in one jump
- Missing the upper-right A before starting the return
- Dropping left before the moving platform reaches its new position
Evidence chain: current-build completion S16; complete recorded route comparison S8, approximately 4:56–5:06.
What was and was not tested
Playtest boundary
- Test environment
- Chrome 150.0.7871.114 on Linux (X11), software WebGL and keyboard input.
- Build and host
- Live Poki project version 1.3.1.1, checked July 27, 2026.
- Verified result
- Five World 5 finishes and the resulting World 6, Level 1 state.
- Still unknown
- Moon requirements for Levels 1, 3 and 4, mobile timing and future-build route changes.
The session entered the current World 5, Level 1 layout directly because its isolated profile had no earlier progress. Every World 5 room was then completed in order and advanced normally. S8 frames remain private research inputs and are not used as page images.
Visible source record
Sources
- Open source ↗S16 Oozy's Lab World 5 current-build direct playtestOozysLabGame.com editorial playtest · direct current-version playtest on the official host · checked July 27, 2026
The playtest used Chrome 150.0.7871.114 on Linux (X11), software WebGL, keyboard input and an isolated task-owned headless browser with a visible game canvas. Local game-only screenshots include each starting room, two key World 5 Level 4 route states and the World 6 unlock screen. The corrected August 2 S8 timeline contains recorded-build route comparisons for all five Levels; no S8 frame is republished. The moon requirements for Levels 1, 3 and 4 remain unknown because their completed routes collected those moons.
- Open source ↗S8 Oozy's Lab Poki GameYouTube · third-party gameplay video · checked August 2, 2026
Rechecked August 2, 2026 against the exact video ID's YouTube storyboards and 638 browser captures sampled every two source seconds. A July 27 note had mistakenly treated frame indices as elapsed seconds and therefore understated the recording as Worlds 1–5; visible labels establish that it reaches World 14. The uploader description calls the moon a target, while the visible tutorial calls that moon optional. Neither statement is generalized to every current Level. No video frame may be republished as site artwork.
- Open source ↗S1 Oozy's Lab on PokiPoki · official game host · checked August 2, 2026
Poki's July 2026 release metadata is recorded separately from the developer page and forum launch dates. The moon wording is not treated as proof that every current level has the same completion condition. S13 directly completed the five tested World 1 Levels without collecting their moons.