Answer first
World 6, Levels 1–5 were completed on the live build
We completed the five consecutive World 6 rooms, internal Levels 26–30, on July 27, 2026. The final finish changed the running state to World 7, Level 1 and unlocked internal Level 31.
Levels 3, 4 and 5 were finished while their moons remained uncollected. The final moon states for Levels 1 and 2 were not rechecked, so both remain unknown.
Poki displayed its normal post-completion break before a final selector capture could be saved. The World 7 transition is directly verified; no selector screenshot is claimed.
Current-build evidence: S17. Level 4–5 route comparison: S29.
World 6 · Level 1
gravity-switch relay
Starting layout
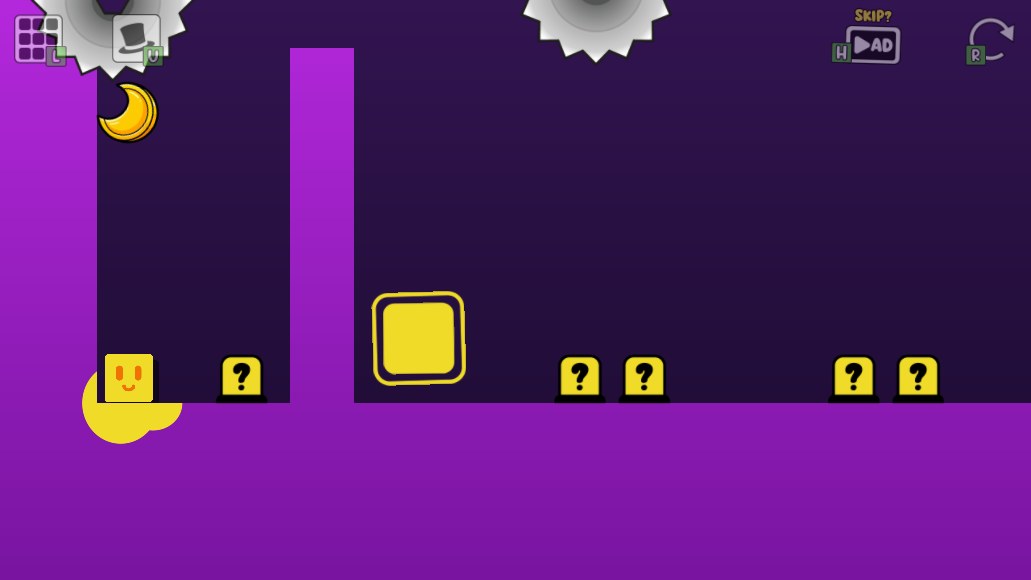
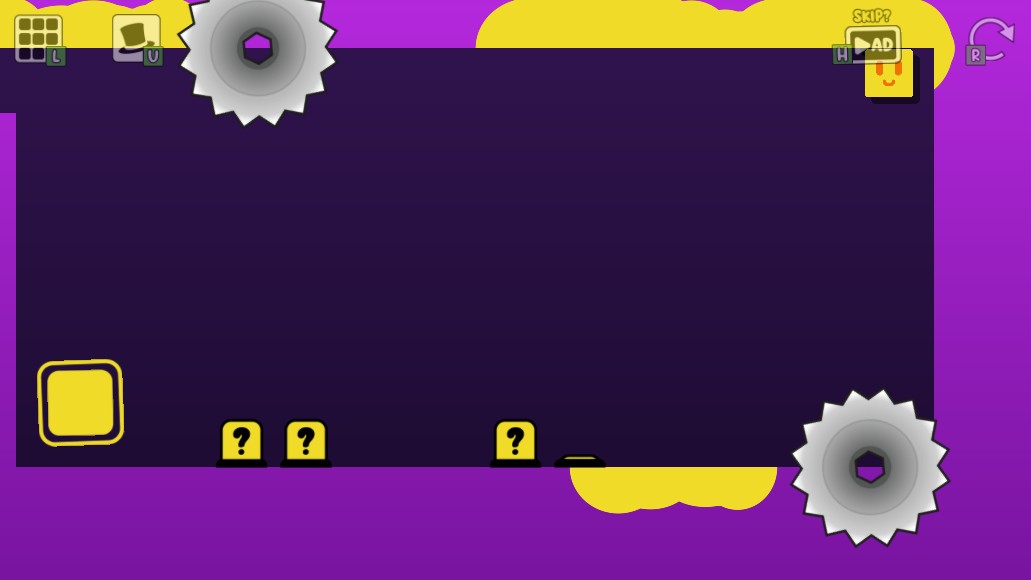
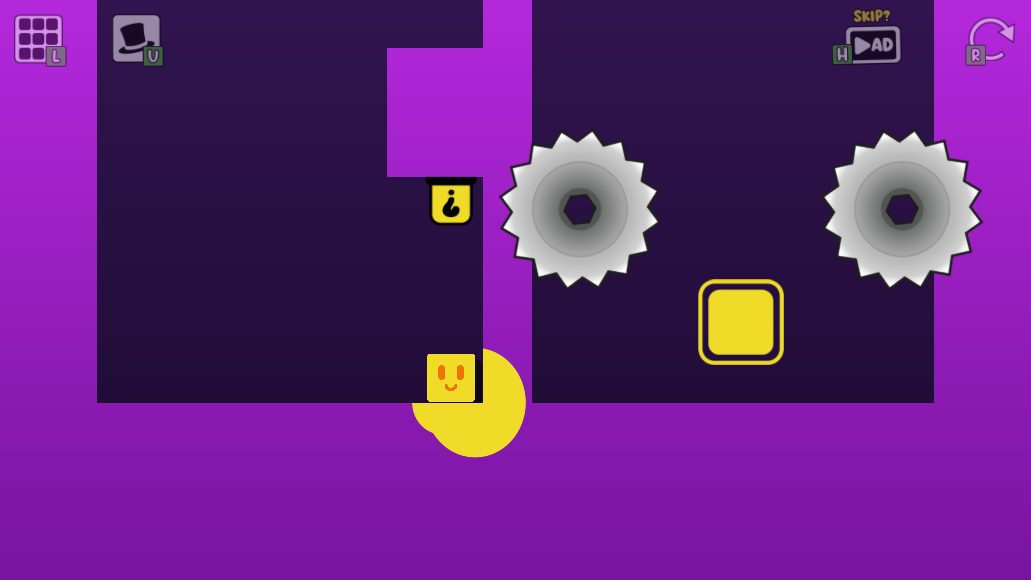
Oozy starts on the lower-left floor. The finish is lower and left of center, the moon is high on the left, vertical walls divide the room, and six question-mark switches sit on the floor or ceiling among three large saws.
Finish and moon
Finish: At floor height left of center, behind the first tall divider.
Moon: High on the far-left side, above the starting area. Its final state was not rechecked, so the requirement remains unknown.
Tested route
Move right across the first floor switch so gravity pulls Oozy to the ceiling. Continue right over the divider; use one controlled jump away from the ceiling to pass the upper saw. Press the far-right ceiling switch to return to the floor, then head left. The first return switch sends Oozy up and the next sends him down again. Keep moving left after that pair and enter the finish.
Route order
- Press the first floor gravity switch
- Cross right along the ceiling and clear the upper saw
- Press the far-right ceiling switch
- Return left through the first paired floor switches
- Continue left into the finish
Gravity cue: let Oozy settle on the new surface after each switch. The second visible switch pair was not part of the successful return.
A 13-second OozysLabGame.com replay of the directly tested gravity-switch route through World 6, Level 1.
Safer approach and common failures
Safer approach: Release horizontal input briefly after each gravity change so the new surface catches Oozy before the next move. At the upper saw, begin the away-from-ceiling jump before Oozy reaches the blade rather than trying to correct beside it.
- Jumping too late beside the upper saw
- Turning left before touching the far-right ceiling switch
- Stopping after only one of the paired return switches
- Assuming the unused second switch pair belongs in the tested route
- Inferring a moon rule when the Level 1 moon result was not rechecked
Evidence chain: direct current-build completion S17.
World 6 · Level 2
tilted auto-slide
Starting layout
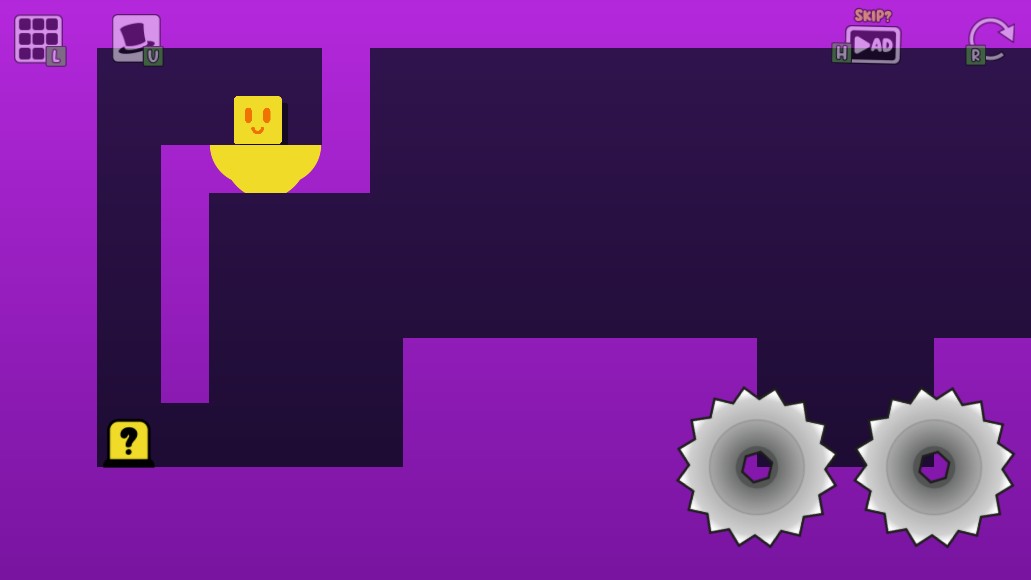
Oozy starts in an upper-left recess. A question-mark switch sits on the lower-left floor, the room extends far to the right, and saw pairs and raised floor sections break up the long route.
Finish and moon
Finish: At the far-right end of the long room.
Moon: Along the later middle section of the rightward slide. Its final state was not rechecked, so the requirement remains unknown.
Tested route
Drop to the lower-left question switch. Once the room tilts and the slide begins, let Oozy travel right and use short jumps over the early floor interruptions. Do not mash jump through the two dense later saw windows: stay low until each cluster has passed, then resume jumping. The slide carries Oozy through the final stretch and into the far-right finish.
Route order
- Drop to and press the lower-left switch
- Let the tilted room carry Oozy right
- Jump the early floor interruptions
- Stay low through each dense saw window
- Resume controlled jumps and enter the far-right finish
Slide cue: more jumping is not always safer. The tested route stayed low through the two crowded saw windows.
A 21-second OozysLabGame.com replay of the directly tested tilted-room and low-slide route through World 6, Level 2.
Safer approach and common failures
Safer approach: Treat the route as a rhythm section. Make one jump only when the next floor edge requires it, then wait for a landing before pressing jump again. The two crowded saw sections are safer with no fresh jump input.
- Trying to run the room before activating the slide switch
- Holding jump repeatedly instead of reading the next obstacle
- Starting a jump inside either dense saw window
- Correcting left so strongly that the automatic slide loses its useful pace
- Inferring a moon rule when the Level 2 moon result was not rechecked
Evidence chain: direct current-build completion S17.
World 6 · Level 3
invisible upper climb
Starting layout
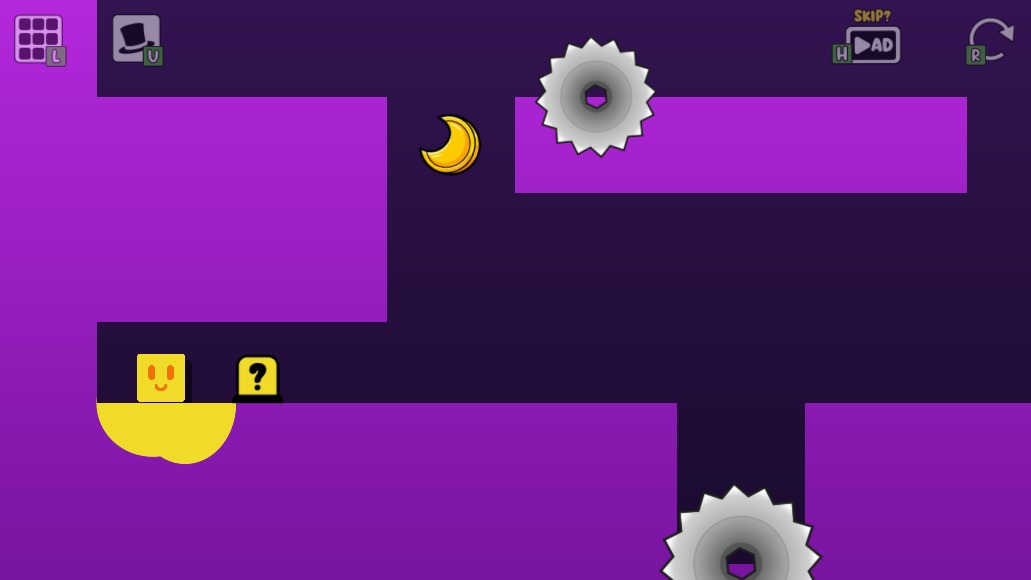
Oozy starts on the lower-left ledge beside a question-mark switch. A floor gap and lower saw block the route to the right, another saw guards the upper return, the moon is near the middle, and the finish is high on the left.
Finish and moon
Finish: High on the far-left side above the starting ledge.
Moon: Near the central gap below the upper saw route. The tested finish worked while the moon remained uncollected.
Tested route
Move right across the question switch, jump the first floor gap and continue to the right wall. Climb the staggered ledges back toward the upper middle. On the wide ledge to the right of the upper saw, stop completely; make a left jump without a run-up to clear the blade. Continue left beneath the finish and jump vertically into it.
Route order
- Cross the invisibility switch and lower gap
- Climb the staggered ledges on the right
- Reach the wide ledge to the right of the upper saw
- Stop before making the leftward saw jump
- Continue left and jump vertically into the finish
Upper-saw cue: stop on the wide right ledge and jump from rest. A left run-up repeatedly carried Oozy into the blade.
Safer approach and common failures
Safer approach: Use the yellow paint trail to track Oozy after the invisibility switch. On the critical upper ledge, release direction until movement stops, then jump left; only add left input after Oozy is already rising over the saw.
- Losing track of Oozy after the invisibility switch
- Dropping into the lower saw while crossing the first gap
- Skipping a right-side ledge and falling back to the bottom
- Taking a left run-up before the upper-saw jump
- Assuming the separately reachable moon is needed for the finish
Evidence chain: direct current-build completion S17.
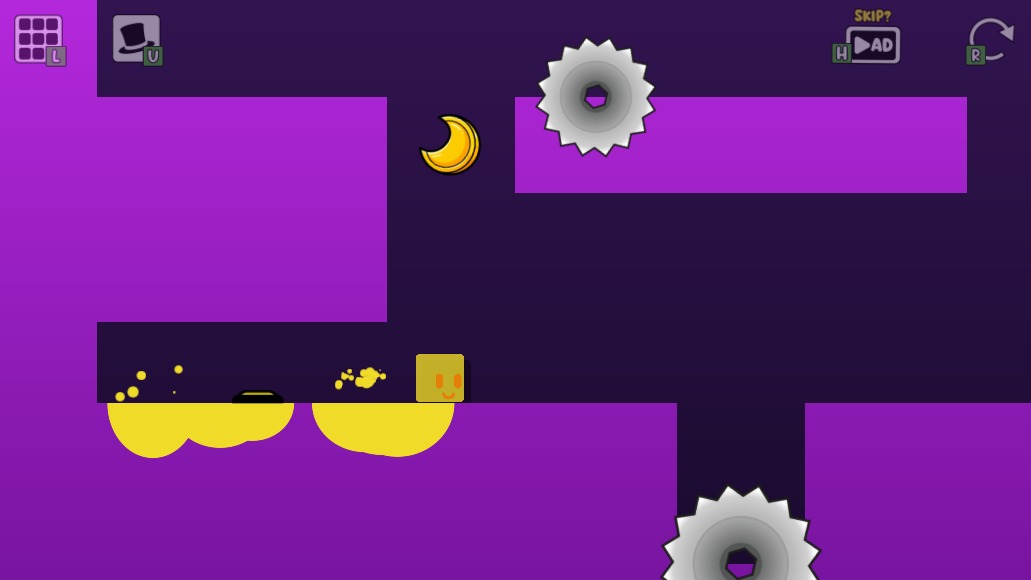
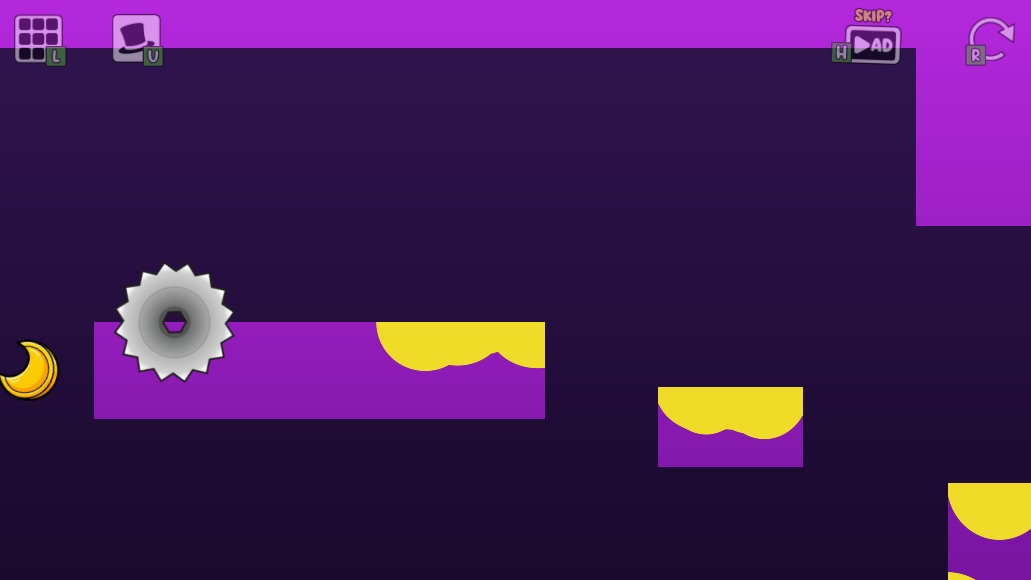
World 6 · Level 4
grow, change and shrink
Starting layout
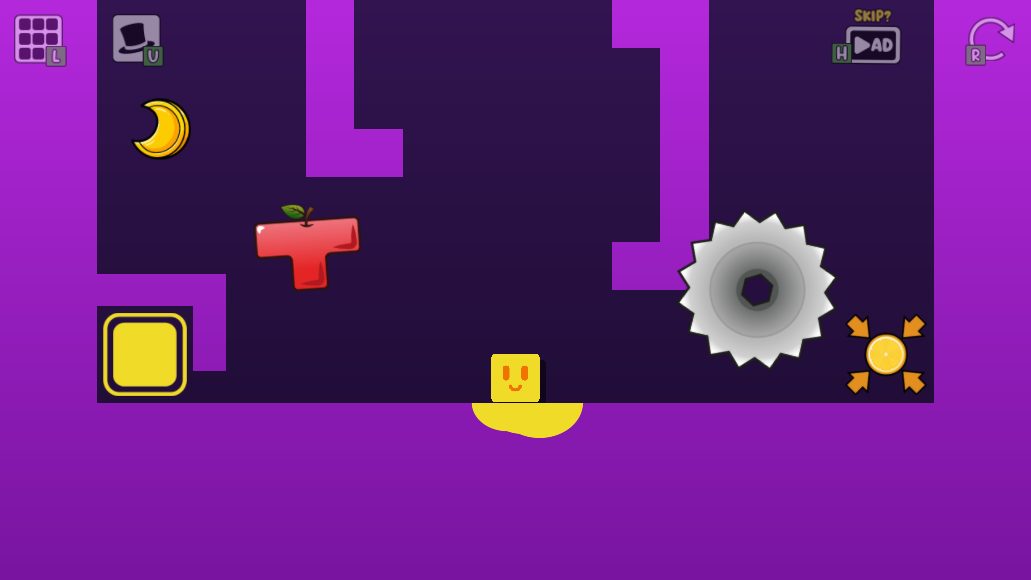
Oozy starts as a square at the bottom center. A red T-shape fruit hangs to the left, growth items sit on the climbing route, a square fruit waits near the top-right, a shrinking item sits at bottom-right, and the finish is behind a low opening on the bottom-left.
Finish and moon
Finish: At the bottom-left behind a gap that the starting square cannot pass.
Moon: On the lower-left side above the finish area. The tested finish worked while the moon remained uncollected.
Tested route
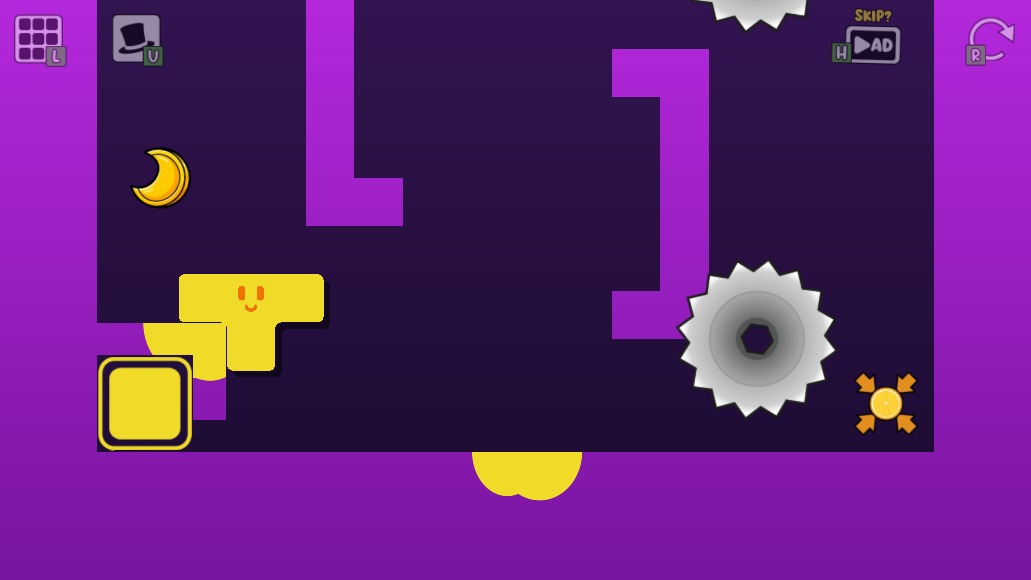
Move left into the red T fruit, then climb by alternating between the left and right ledges. Collect the first widening item on the middle-left route, continue the zigzag and collect the second near the top. Touch the square fruit at the top-right and fall down the right side. Once the square lands, move through the bottom-right shrinking item; the smaller square can travel left under the low wall and enter the finish.
Route order
- Collect the lower-left T-shape fruit
- Climb the alternating ledges and collect both growth items
- Collect the square fruit at the top-right
- Drop down the right side
- Collect the bottom-right shrinking item
- Move left under the low wall into the finish
Shape order: T fruit, both widening items, square fruit, then the bottom-right shrinking item. The finish gap accepts the smaller square.
Safer approach and common failures
Safer approach: Settle on every ledge before the next jump, especially after each size change. After becoming a square at the top, stay close to the right wall during the long fall. At the bottom, confirm the square is visibly smaller before attempting the low opening.
- Trying to enter the finish before collecting the shape and size items
- Missing one of the two widening items on the upward zigzag
- Jumping across a saw before the T shape has settled on its ledge
- Falling away from the right wall after the top square fruit
- Passing the bottom-right item without shrinking
Evidence chain: complete current-build route S17; recorded route prompt S29, approximately 8:58–9:37. S17 remains primary.
World 6 · Level 5
low-gravity saw tower
Starting layout
Oozy starts on the bottom-center floor beneath an upside-down switch. The finish is at the lower-right, the moon is near the upper-left, two left shelves break up the climb, and dense saw rows guard both the ascent and the right-side descent.
Finish and moon
Finish: At floor height on the lower-right side between the two bottom saws.
Moon: Near the upper-left corner, outside the tested finish route. The tested finish worked while the moon remained uncollected.
Tested route
Jump vertically into the upside-down switch and wait for Oozy to land. Use the changed jump to move left out from under the block, then steer right onto the lower center block. Stop there, jump through the gap between the first saw pair and land on the middle-left shelf. From that shelf, make another long jump to the upper-left shelf. Jump right again, rise beside the central wall and cross above the top platform to the far-right side. During the fall, move left beneath the upper-right saws, turn hard right after clearing them, then move back toward center below the middle row. Drop between the two bottom saws and into the lower-right finish.
Route order
- Jump into the upside-down switch and land
- Use the changed jump to land on the lower center block
- Rise between the first saw pair and land on the middle-left shelf
- Jump to the upper-left shelf
- Cross above the top platform to the far right
- Descend left through the upper saw row
- Move to the far right below that row
- Return to the center between the bottom saws and enter the finish
Descent cue: use three corridors instead of dropping straight to the finish—left below the upper saws, far right below the middle row, then center between the bottom pair.
Safer approach and common failures
Safer approach: Use each left shelf as a full reset point: stop before jumping and change direction only after clearing the nearest blade. On the descent, do not aim straight at the finish from the ceiling. First reach the left side of the upper chamber, then the far-right middle corridor, and only then center over the finish.
- Leaving the start before the upside-down switch has changed the jump
- Carrying horizontal speed off the lower center block
- Moving left too early beside the lower-left saw
- Taking a run-up before the shelf-to-shelf jumps
- Turning right too late below the upper-right saw row
- Dropping directly through the middle-right saws instead of using the outer corridor
Evidence chain: complete current-build route S17; recorded route prompt S29, approximately 9:39–10:04. S17 remains primary.
What was and was not tested
Playtest boundary
- Test environment
- Headed Chrome 150.0.7871.114 on Linux (X11), software WebGL and keyboard input.
- Build and host
- Live Poki project version 1.3.1.1, checked July 27, 2026.
- Verified result
- Five World 6 finishes and the resulting World 7, Level 1 running state.
- Still unknown
- Moon requirements for Levels 1 and 2, mobile timing and future-build route changes.
All five rooms were completed from their normal starts. The direct session did not alter room objects or completion flags. S29 supplied a route prompt for Levels 4 and 5 only; its frames are not used as page images.
Visible source record
Sources
- Open source ↗S17 Oozy's Lab World 6 current-build direct playtestOozysLabGame.com editorial playtest · direct current-version playtest on the official host · checked July 27, 2026
The playtest used the existing headed Chrome 150.0.7871.114 session on Linux (X11), software WebGL and keyboard input through an exact task-owned CDP target. Local game-only screenshots cover every World 6 starting room and key states in Levels 1, 3 and 4. Level 30 advanced the runtime to World 7, Level 1 before Poki displayed its normal post-completion break. S29 was used only as a route prompt and visual cross-check for Levels 4 and 5; no third-party video frame is republished.
- Open source ↗S38 Oozy's Lab Gravity Flip Route — World 6 Level 1YouTube · first-party gameplay video · checked August 2, 2026
Published from OozysLabGame.com playtest footage and presented as a short route demonstration, not a standalone complete walkthrough.
- Open source ↗S39 Oozy's Lab Tilted Room Auto-Slide — World 6 Level 2YouTube · first-party gameplay video · checked August 2, 2026
Published from OozysLabGame.com playtest footage and presented as a short route demonstration, not a standalone complete walkthrough.
- Open source ↗S29 Oozy Lab | Un gioco STRANOYouTube · third-party gameplay video · checked July 27, 2026
The recording was reviewed as a route prompt before the current-build playtest. Its Level 4 and Level 5 route order was independently reproduced on the live Poki build. No video frame or thumbnail is republished.
- Open source ↗S1 Oozy's Lab on PokiPoki · official game host · checked August 2, 2026
Poki's July 2026 release metadata is recorded separately from the developer page and forum launch dates. The moon wording is not treated as proof that every current level has the same completion condition. S13 directly completed the five tested World 1 Levels without collecting their moons.