Answer first
World 7, Levels 1–5 were completed on the live build
We completed five consecutive World 7 rooms, internal Levels 31–35, on July 27, 2026. The final finish changed the running state to World 8, Level 1 and internal Level 36.
Levels 2, 4 and 5 were finished while their moons remained uncollected. The final moon states for Levels 1 and 3 were not retained, so both remain unknown.
This result establishes only the tested World 7 sequence. It does not prove a fixed number of Levels in every World or a final game-wide Level total.
Current-build evidence: S18.
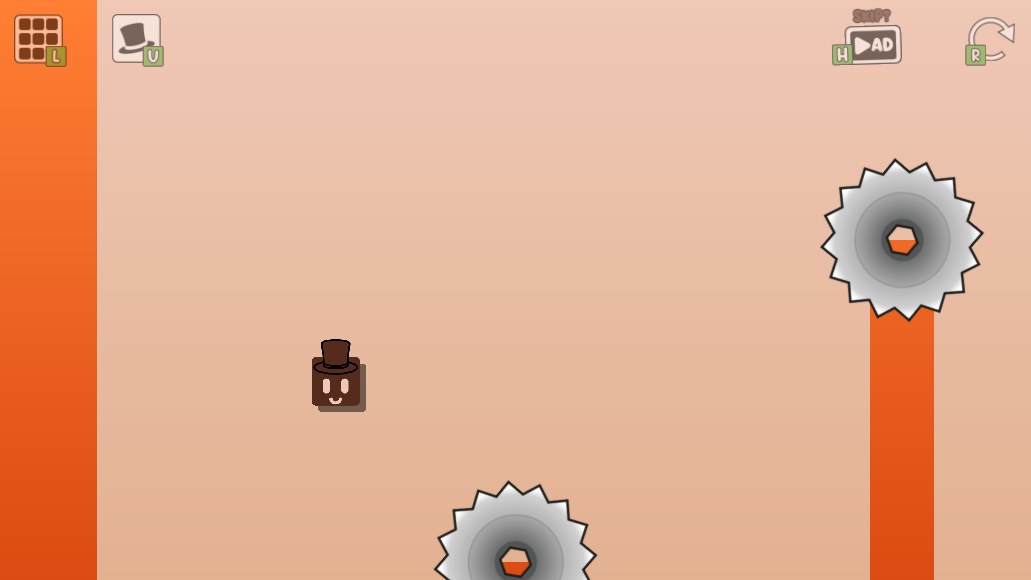
World 7 · Level 1
vertical launcher crossing
Starting layout
Oozy starts at the lower-left. Two orange floor switches sit beneath vertical launcher paths, two large saws occupy staggered heights across the room, the moon is high on the left and the finish is on the far right.
Finish and moon
Finish: On the far-right side of the room, above the lower platform.
Moon: High on the left side of the room. Its final state was not retained, so the requirement remains unknown.
Tested route
Use the left floor launcher and remain in its lift until Oozy is high enough to clear the saw line. Commit to a rightward crossing and keep steering into the finish on the far wall.
Route order
- Approach the left launcher switch with enough room to jump onto it.
- Stay in the launcher path until Oozy is rising above the lower saw.
- Hold right and cross the room above the staggered saws.
- Continue into the far-right finish.
Launcher cue: wait for a clear upward pass before committing right. The second visible switch was not part of the tested finish.
Safer approach and common failures
Safer approach: Wait for a clear upward pass before steering right. Once the crossing begins, avoid correcting back toward the launcher because that drops Oozy toward the saws.
- Jumping right before the launcher has carried Oozy above the lower saw
- Leaving the launcher path during a downward part of the cycle
- Trying to include the second visible switch even though the tested finish did not require it
- Assuming a moon rule from this run even though its final state was not retained
Evidence chain: direct current-build completion S18.
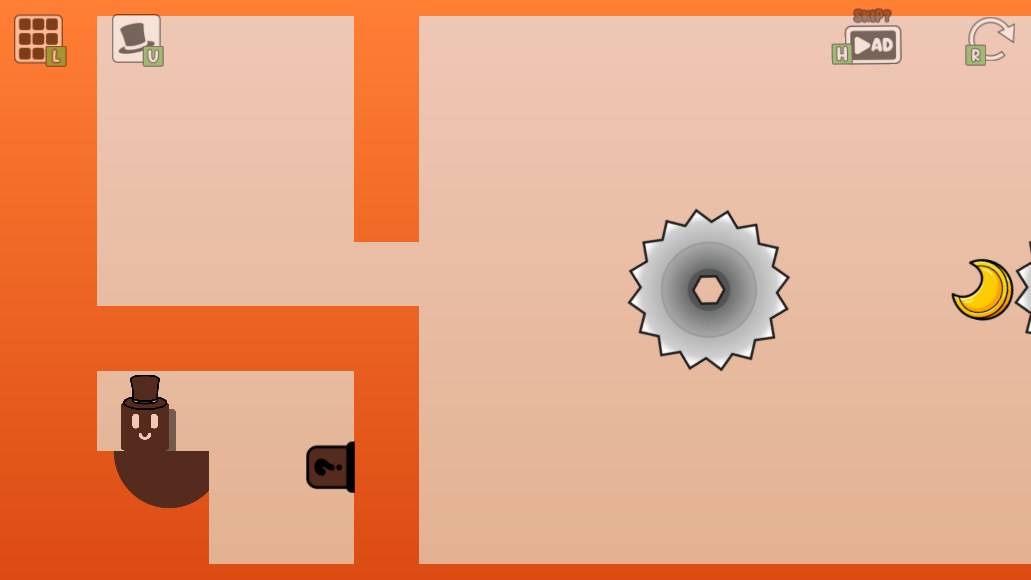
World 7 · Level 2
screen-wrap saw crossing
Starting layout
Oozy starts inside a small chamber on the left. A wall-facing orange switch opens the screen-wrap route into a wide room with two saws, a moon near the second saw and the finish on the far right.
Finish and moon
Finish: On the far-right wall at about the same height as the saw corridor.
Moon: Near the second saw on the right side of the room. The tested finish worked while the moon remained uncollected.
Tested route
Enable screen wrapping, move right and let Oozy fall low enough to pass under the first saw. Stop between the two saws, wait for another low pass, then cross below the second saw and continue to the finish.
Route order
- Back up inside the starting chamber to make a short runway.
- Jump right and press the screen-wrap switch.
- Move into the open room and pass below the first saw.
- Pause in the space between the saws and wait until Oozy is low enough for the second crossing.
- Cross below the second saw and continue right into the finish.
Wrap cue: use the space between the two saws as a rest point. Wait there for a low pass instead of crossing both hazards at once.
Safer approach and common failures
Safer approach: Treat the gap between the saws as a rest point. Release right there instead of trying to cross both hazards in one continuous movement.
- Jumping at the switch without first making enough room for a rightward run
- Continuing through the middle gap before Oozy has fallen below the second saw
- Steering into a saw while adjusting to the vertical screen wrap
- Detouring into the moon even though the tested finish worked without it
Evidence chain: direct current-build completion S18.
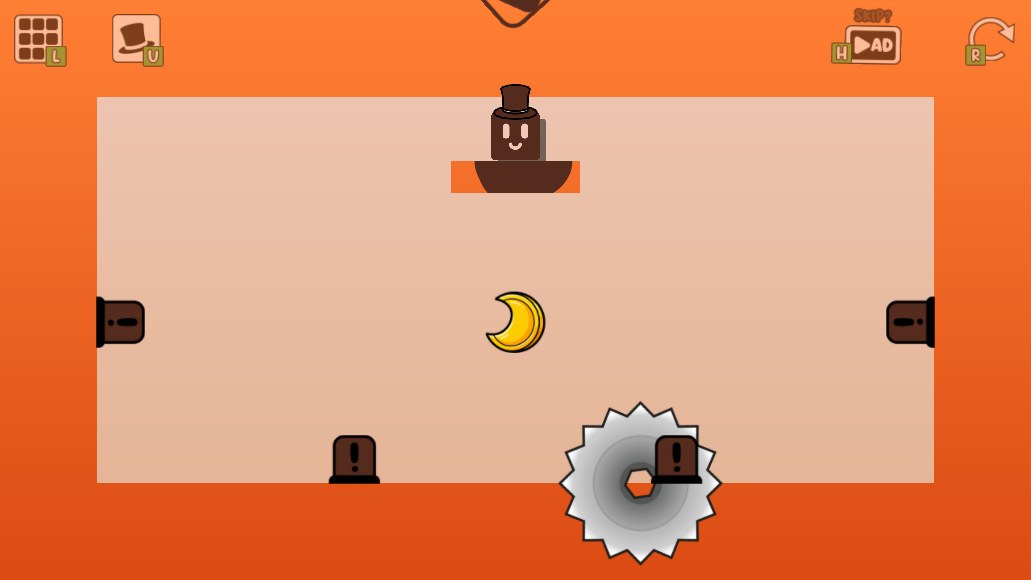
World 7 · Level 3
four-switch saw room
Starting layout
Oozy starts on the upper-center platform. Two wall switches and two floor switches surround one horizontally moving saw; the moon and the initially elevated finish are near the center.
Finish and moon
Finish: In the center of the room after all four switches lower it into reach.
Moon: Near the center, below the starting platform. Its final state was not retained, so the requirement remains unknown.
Tested route
Clear the two left switches while the saw is on the right. As it travels back left, cross behind it and clear the two right switches. With all four retracted, return to the center platform and jump into the lowered finish.
Route order
- Wait until the saw has travelled to the right side.
- Go left and press the left-wall switch, then the left floor switch.
- Wait until the saw is moving left and has passed the center.
- Cross behind it and press the right floor switch, then the right-wall switch.
- Return to the center and jump into the now-lowered finish.
Saw cue: clear both switches on one side, then follow behind the saw to cross to the other side.
Safer approach and common failures
Safer approach: Do not race the saw head-on. Wait at either side until it has passed, then use the empty lane behind it to cross.
- Crossing toward the saw instead of following behind it
- Leaving a wall switch before its orange part fully retracts
- Trying to enter the finish before all four switches have lowered it
- Inferring the moon requirement even though its final state was not retained
Evidence chain: direct current-build completion S18.
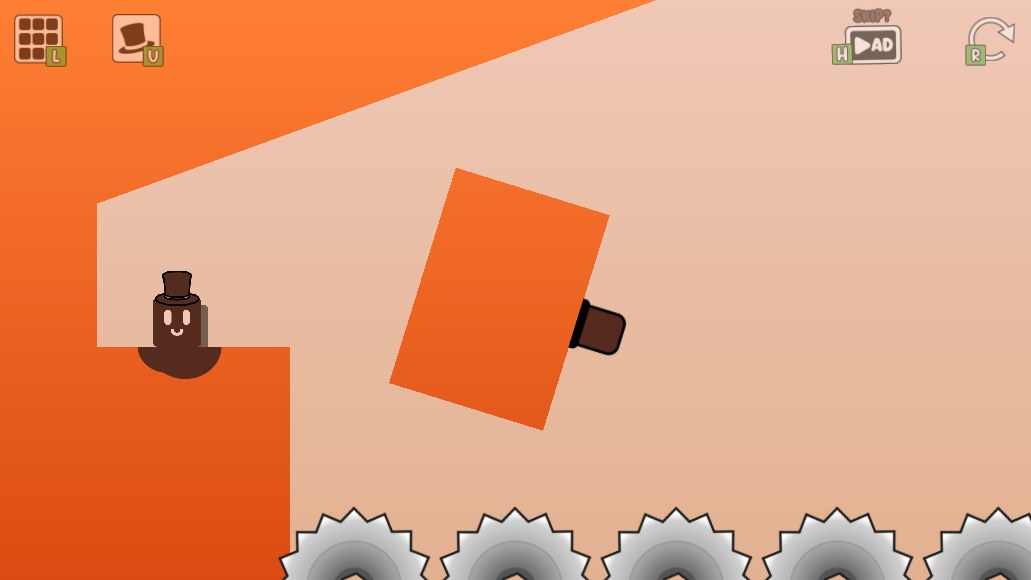
World 7 · Level 4
rotating platform transfer
Starting layout
Oozy starts on a left ledge above a floor-length row of saws. Switch A rides on a rotating platform, central ledges lead to switch B, the moon sits above the middle and the finish is far to the right.
Finish and moon
Finish: On the far-right side beyond the saw floor.
Moon: On an upper ledge near the middle of the room. The tested finish worked while the moon remained uncollected.
Tested route
Press A on the rotating platform, ride it to the central ledges and climb to B. After pressing B, return to the lower ledge, reboard the same platform and ride it across the saw floor to the far-right finish. This tested route skips the moon.
Route order
- Wait for a stable angle on the rotating platform and jump onto switch A.
- Ride the platform right and transfer to the central lower ledge.
- Climb the central platforms and press switch B.
- Return to the lower central ledge and wait for the moving platform.
- Board it again, ride toward the far right and jump into the finish.
Platform cue: after pressing B, return to the lower central ledge and wait. The same rotating platform comes back for the final ride.
Safer approach and common failures
Safer approach: Make each platform transfer from a settled position. The central ledges are safe waiting points, so use them instead of chasing the moving platform over the saw floor.
- Jumping at switch A while its platform is tilted away from the starting ledge
- Dropping between the central platforms into the floor saws
- Trying the final crossing before pressing switch B
- Leaving the moving platform too early on the far-right approach
Evidence chain: direct current-build completion S18.
World 7 · Level 5
descending platform chain
Starting layout
Oozy starts on a wide lower platform beside switch A. Above it is a long zigzag chain of tilted blocks and four diamond platforms; two saws descend with the chain, the moon is in the middle and the finish begins high on the left.
Finish and moon
Finish: At the left end of the long upper platform reached after the fourth diamond.
Moon: In the middle of the moving platform chain. The tested finish worked while the moon remained uncollected.
Tested route
Start the descent with A and climb the zigzag blocks to the first two diamonds. For each saw, gain height before crossing to the next diamond so Oozy passes over the blade. From the fourth diamond, jump left onto the long platform and continue left into the finish. The completed run left the moon uncollected.
Route order
- Press A and move from the starting platform onto the left tilted block.
- Climb through the short middle platform, tall right block, upper short platform and tall left block.
- Cross from the first diamond to the second diamond.
- Jump above the lower moving saw and cross right to the third diamond.
- Jump above the upper moving saw and cross right to the fourth diamond.
- Immediately jump left from the fourth diamond onto the long finish platform, then run left into the finish.
Final cue: jump above each moving saw before adding rightward movement. From the fourth diamond, reverse left immediately toward the finish platform.
Safer approach and common failures
Safer approach: Re-center Oozy after each landing and make one transfer at a time. On both saw crossings, jump vertically first and add horizontal movement only after Oozy is above the blade.
- Waiting too long on the lower blocks while the entire route descends
- Trying to cross a moving saw at the same height as its blade
- Skipping the short repositioning pause on a diamond platform
- Continuing right from the fourth diamond instead of jumping back left to the finish platform
Evidence chain: direct current-build completion S18.
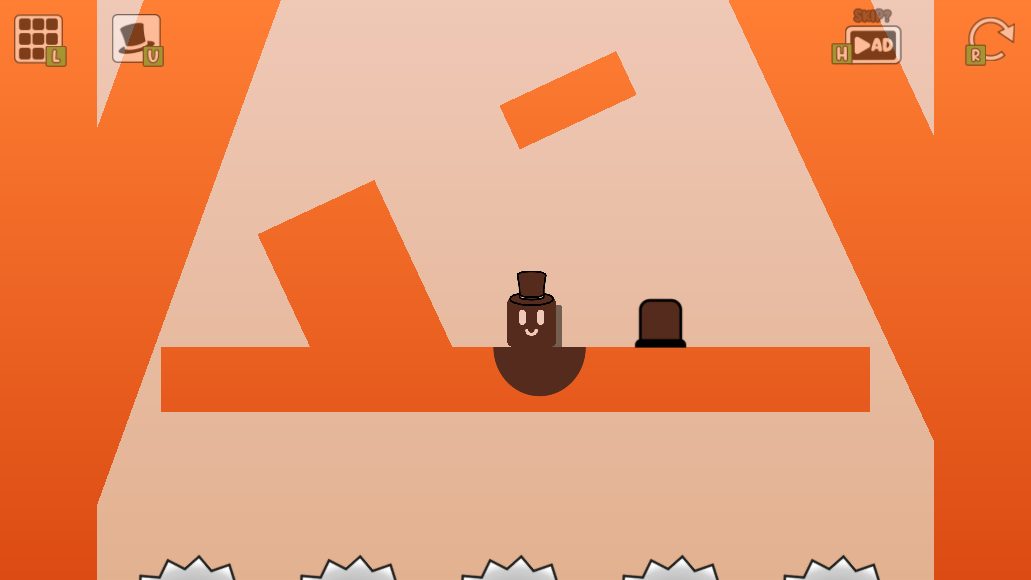
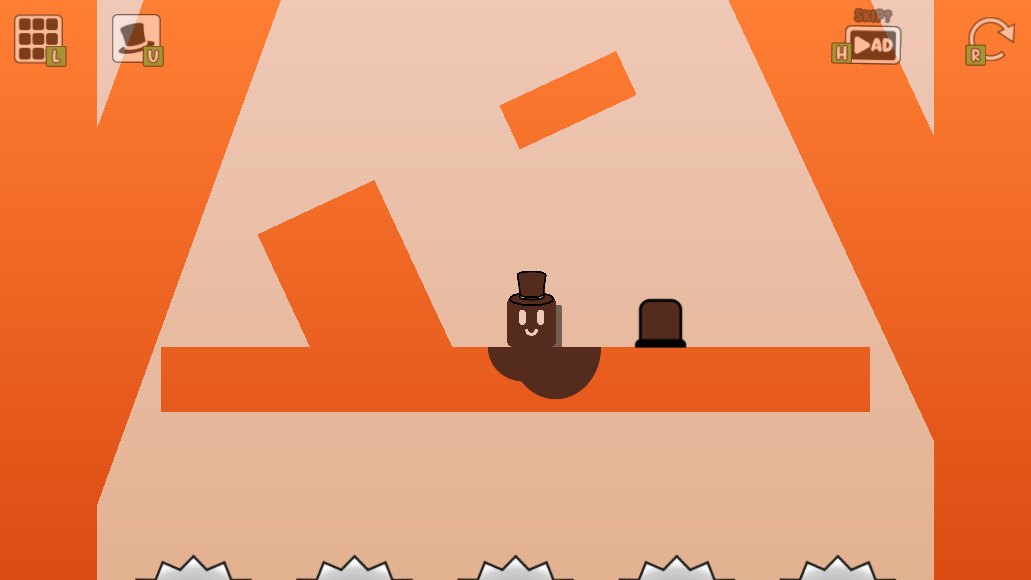
What was and was not tested
Playtest boundary
- Test environment
- Headed Chrome 150.0.7871.114 on Linux (X11), software WebGL and keyboard input.
- Build and host
- Live Poki project version 1.3.1.1, checked July 27, 2026.
- Verified result
- Five World 7 finishes and the resulting World 8, Level 1 running state.
- Still unknown
- Moon requirements for Levels 1 and 3, mobile timing and future-build route changes.
All five rooms were completed from their normal starts. The direct session did not alter room objects, player positions or completion flags. MiniMax visual analysis was used only as a triage experiment; its inconsistent object labels and timestamps are not page evidence.
Visible source record
Sources
- Open source ↗S18 Oozy's Lab World 7 current-build direct playtestOozysLabGame.com editorial playtest · direct current-version playtest on the official host · checked July 27, 2026
The playtest used the existing headed Chrome 150.0.7871.114 session on Linux (X11), software WebGL and keyboard input through an exact task-owned CDP target. Level 35 was completed from the normal start with no recorded death through its four diamond platforms and final finish. Local game-only screenshots cover all five World 7 starting rooms plus the Level 5 moving-platform route. MiniMax was used only for low-cost visual triage; its labels were not treated as route evidence.
- Open source ↗S1 Oozy's Lab on PokiPoki · official game host · checked August 2, 2026
Poki's July 2026 release metadata is recorded separately from the developer page and forum launch dates. The moon wording is not treated as proof that every current level has the same completion condition. S13 directly completed the five tested World 1 Levels without collecting their moons.