Answer first
World 8, Levels 1–5 were completed on the live build
We completed five consecutive World 8 rooms, internal Levels 36–40, on July 31, 2026. The final finish changed the running state to World 9, Level 1 and internal Level 41.
Level 5 was finished while its moon remained uncollected. The tested routes for Levels 1–3 collected their moons, and Level 4’s final moon state was not retained, so the requirements for Levels 1–4 remain unknown.
This result establishes only the tested World 8 sequence. It does not prove a fixed number of Levels in every World or a final game-wide Level total.
Current-build evidence: S19.
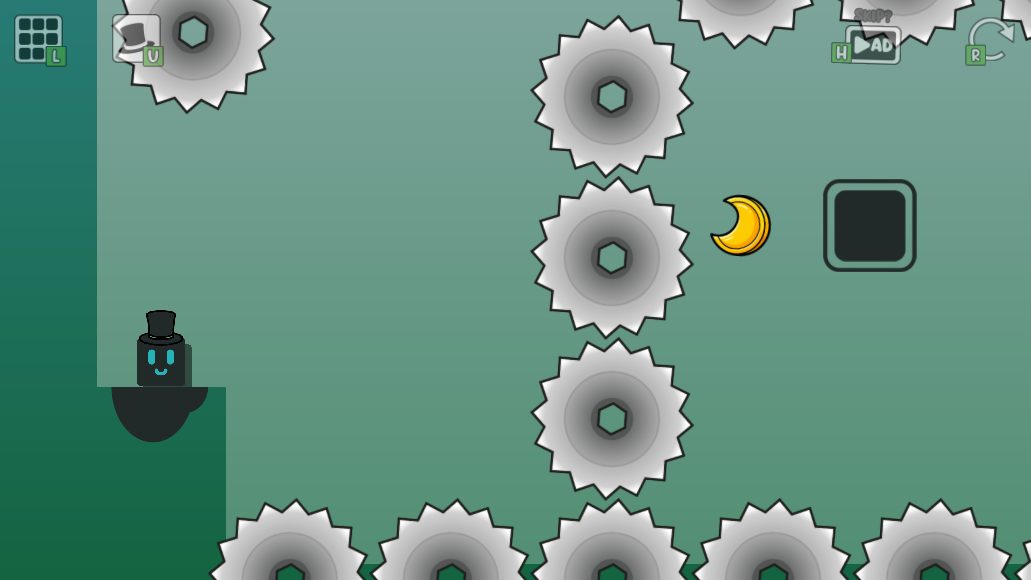
World 8 · Level 1
moving-platform saw circuit
Starting layout
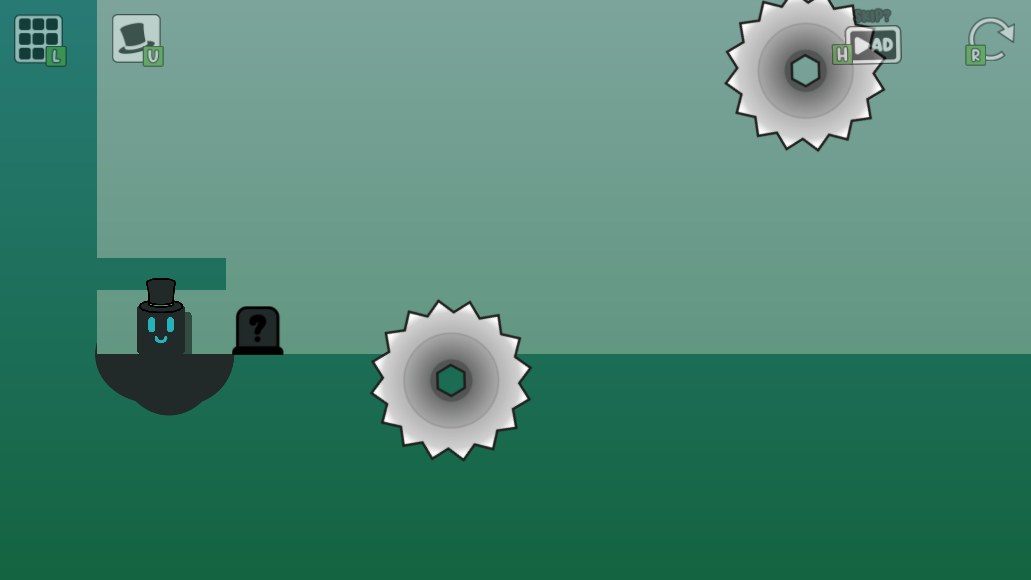
Oozy starts at the lower-left beside the route of one autonomous moving platform. Saw hazards guard the platform's upper trip, far-right turn and lower return.
Finish and moon
Finish: Reached from the returning platform immediately after the final moon-side jump.
Moon: Above the lower return section of the moving-platform route. The tested evidence does not isolate its requirement, so it remains unknown.
Tested route
Catch the autonomous moving platform near the lower-left while it is travelling left. Ride its full upper trip, moving to the safer side and making a separate jump at each saw. Stay aboard through the far-right turn, clear the small saws on the lower return, then use the moon-side launch and one more jump to reach the finish.
Route order
- Wait at the lower-left until the platform is approaching from the right and moving left.
- Jump right onto the platform, then stay with it as it begins the upper trip.
- Use separate jumps for the left, middle and right saw sections; reposition on the platform after each landing.
- At the far-right turn, stay on the platform as it begins travelling left along the lower route.
- Jump the small saw section on the lower return.
- Near the moon-side launch point, move toward the platform's middle-left area, jump for the moon and use the next landing for the finish jump.
Platform cue: change position on the platform before each saw. One fixed riding position does not stay safe around the full circuit.
Safer approach and common failures
Safer approach: Do not try to hold one fixed position for the full circuit. After every saw jump, land back on the platform, release movement briefly and set up the next crossing from a stable position.
- Jumping before the platform reaches the lower-left catch window
- Standing on the platform side that is moving directly toward the next saw
- Combining two saw crossings without re-centering after the first landing
- Treating the tested moon-collecting route as proof that the moon is required
Evidence chain: direct current-build completion S19.
World 8 · Level 2
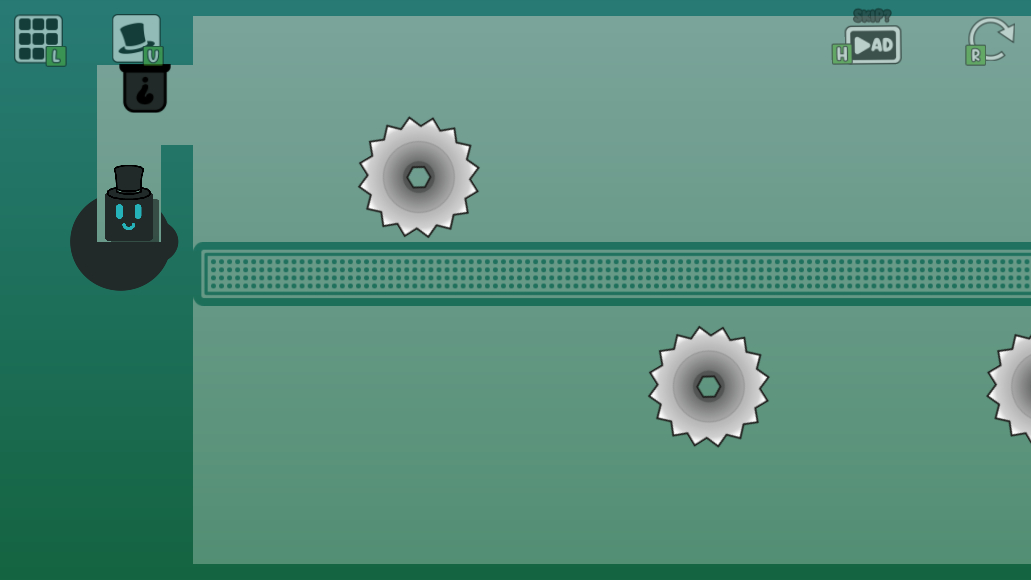
screen-wrap out-and-back
Starting layout
Oozy starts at the left side beside the screen-wrap switch. Alternating top and bottom saws divide a long room, while the moon and a finish trigger are at the far right.
Finish and moon
Finish: On the left side after the far-right trigger has been reached.
Moon: At the far-right end of the outbound crossing. The tested evidence does not isolate its requirement, so it remains unknown.
Tested route
Enable screen wrapping, then cross right only when Oozy is in the correct vertical band: bottom for a top saw, top for a bottom saw. The tested order was bottom, top, top, bottom on the way out. Reach the moon and far-right trigger, then return with the pattern reversed and enter the finish on the left.
Route order
- Press the starting switch and confirm that vertical screen wrapping is active.
- Use a bottom window to move right past the first top saw.
- Use top windows for the next two bottom-saw crossings.
- Use another bottom window for the final top-saw crossing and continue to the far-right moon and trigger.
- Reverse direction and repeat the same four windows in reverse order.
- Continue into the left-side finish.
Wrap cue: the tested outbound windows were bottom, top, top, bottom. Stop after each crossing before waiting for the next band.
Safer approach and common failures
Safer approach: Stop horizontally after each saw and wait through another wrap cycle. Committing to only one hazard at a time makes the next top-or-bottom window easier to read.
- Moving right before the opening switch has enabled screen wrapping
- Using a top window against a top saw or a bottom window against a bottom saw
- Holding a direction through two hazards without waiting between them
- Assuming the collected moon proves a requirement instead of marking the result unknown
Evidence chain: direct current-build completion S19.
World 8 · Level 3
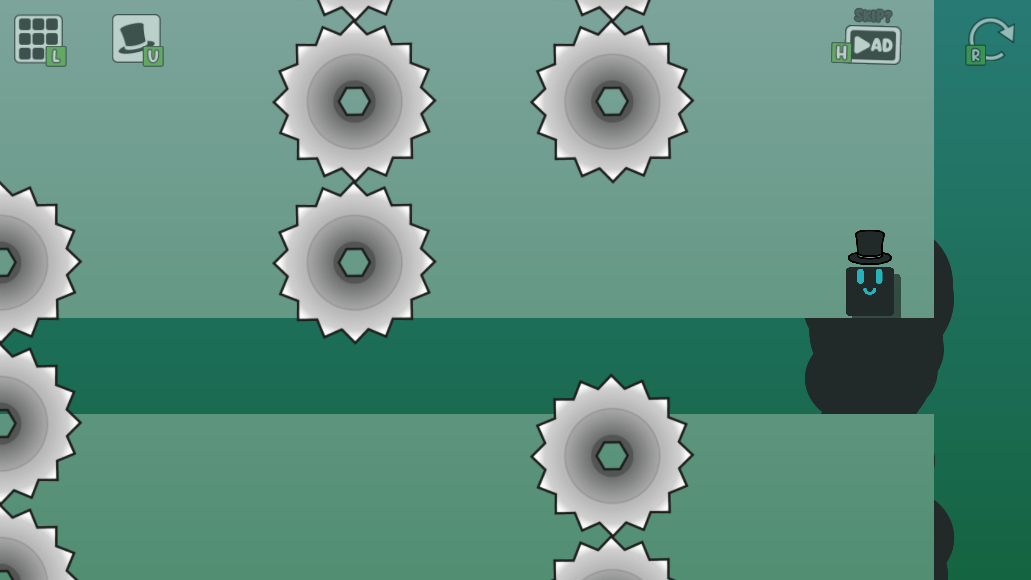
oscillating-platform timing
Starting layout
Oozy starts on the right side of a wide room. Signal-linked platforms oscillate vertically through upper and lower lanes, and saw columns divide the route toward the left-side moon and finish.
Finish and moon
Finish: At the far-left side, reached from the oscillating lower platform during an upward pass.
Moon: Low on the far-left side before the finish approach. The tested evidence does not isolate its requirement, so it remains unknown.
Tested route
Let the oscillating platforms create each opening instead of forcing a continuous run. Cross the right saw pair, right column, middle column and left gap in four separate timing windows. Touch the far-left moon area, retreat past the nearby saw, then wait for the next low upward pass and jump left into the finish.
Route order
- Wait for the right-side platform to rise into the first safe band, then move across the right saw pair.
- Use a high downward pass to move left through the right column.
- Use the next low upward pass and a jump to clear the middle column.
- Wait for another low upward pass before crossing the left gap.
- During a downward pass, move to the far-left moon area, then immediately retreat right beyond the left saw.
- Wait for the platform's low upward goal window and jump left into the finish.
Platform cue: match both height and direction. A platform in the right band but moving the wrong way may close the next landing.
Safer approach and common failures
Safer approach: After every column, release movement and stay on the current platform until its height and direction match the next window. The route is more repeatable when each transfer begins from a landed state.
- Crossing a saw column at the right height but while the platform is moving in the wrong direction
- Jumping the middle column before the lower platform reaches its low upward band
- Remaining at the far-left moon area instead of retreating beyond the nearby saw
- Inferring a moon requirement from the tested route, which collected it
Evidence chain: direct current-build completion S19.
World 8 · Level 4
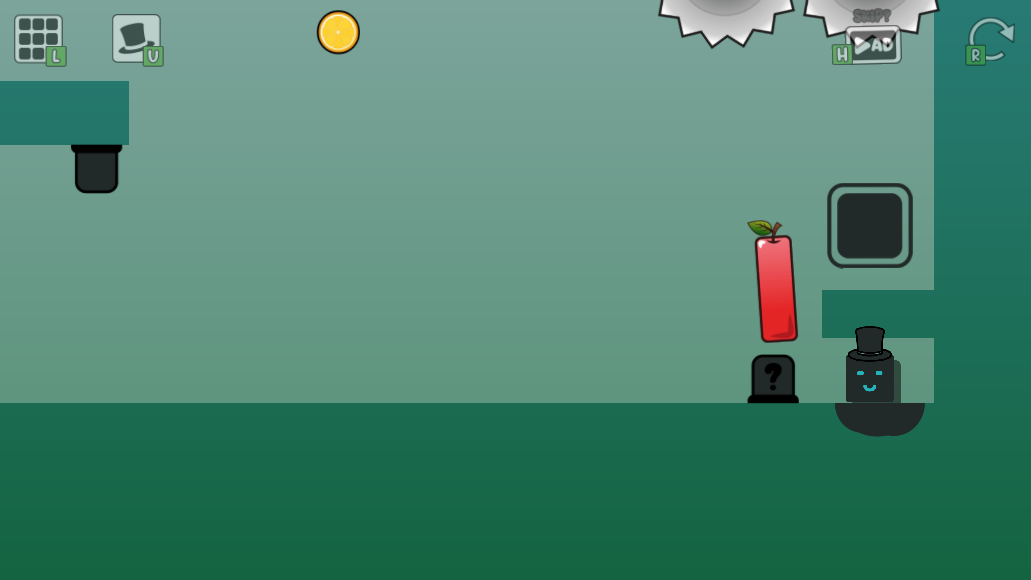
wide shape and gravity return
Starting layout
Oozy starts at the far right of a long room. The outbound route runs left through a signal-controlled saw, a wide shape item, fixed saw groups and a narrow gap before a reverse-gravity switch.
Finish and moon
Finish: At the far-right end of the upper return route.
Moon: Its exact current-build position was not retained. The tested evidence does not isolate its requirement, so it remains unknown.
Tested route
Raise the signal-controlled saw, collect the wide shape and travel left through the saw pair, single saw and narrow gap. Press the reverse-gravity switch at the far left. On the ceiling return, wait for the moving saw to travel away, cross right, press the signal again to lower its saw and jump through the final hazards into the finish.
Route order
- Move left, jump into the signal switch and confirm that its linked saw rises.
- Collect the wide shape item and continue left through the wide saw-pair section.
- Jump the single saw, settle before the narrow gap and clear it with a separate jump.
- Continue left into the reverse-gravity switch.
- Wait until the moving upper saw opens a rightward window, then jump through the upper route.
- Press the return side of the signal so its linked saw lowers.
- Clear the final saws and continue right into the finish.
Return cue: wait for the upper moving saw to travel away, then press the signal again before attempting the final saw group.
Safer approach and common failures
Safer approach: Treat the outbound saw pair, single saw and narrow gap as separate sections. On the return, wait for the moving saw's full opening before holding right; the route is safer than trying to overtake it.
- Passing the first signal before its linked saw has moved out of the route
- Missing the wide shape item before the outbound saw section
- Trying to clear the single saw and narrow gap with one jump
- Starting the ceiling return while the moving saw is travelling into the path
- Forgetting to press the return signal before the final saws
Evidence chain: direct current-build completion S19.
World 8 · Level 5
invisible saw crossing
Starting layout
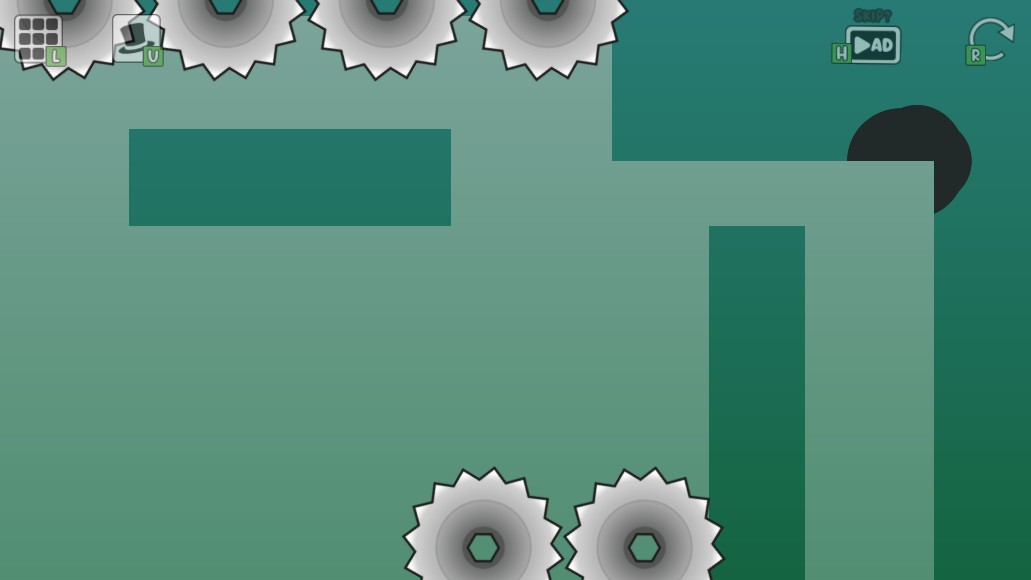
Oozy starts at the lower-left beside an invisibility switch. Two vertically moving saws and a horizontally moving saw pair block the floor route to a reverse-gravity switch on the far right.
Finish and moon
Finish: At the upper-left end of the reversed-gravity return.
Moon: In the lower-middle part of the room beneath the ceiling-platform return. The tested finish worked while the moon remained uncollected.
Tested route
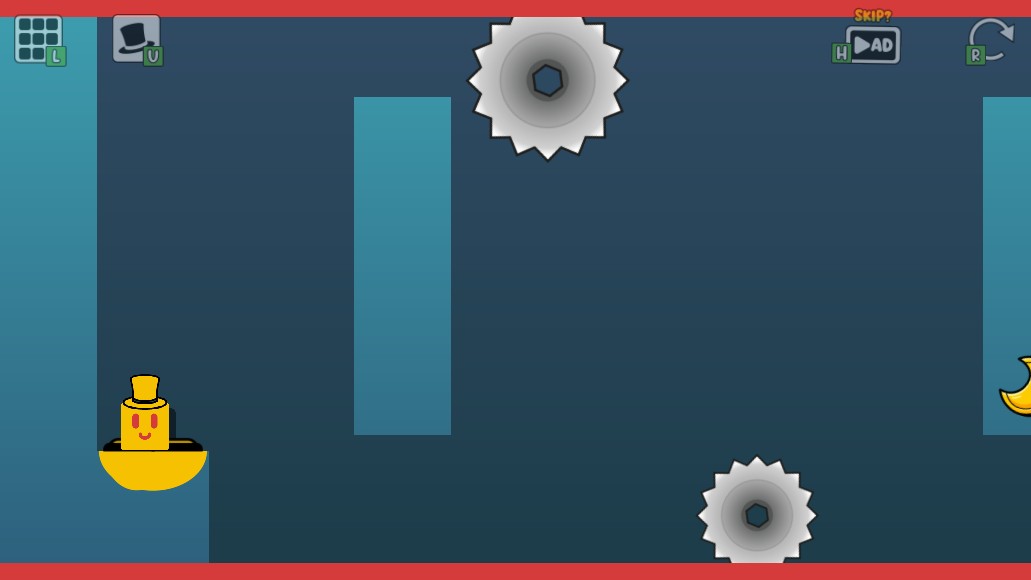
Use separate windows for the two vertical saws, then land between the horizontal saw pair. Wait until the right saw is near its far-right limit and moving left before jumping to the gravity switch. Return left along the undersides of the right and middle ceiling platforms, touch the central diamond without stopping, reach the left ceiling platform and enter the upper-left finish. Press jump again inside the finish to trigger completion.
Route order
- Move right through the invisibility switch.
- Wait for the first vertical saw to open, cross it, then stop and wait separately for the second vertical saw.
- When the first horizontal saw moves left, jump into the gap between the horizontal saw pair.
- Track the gap until the second horizontal saw is near its far-right limit and moving left, then jump right over it into the reverse-gravity switch.
- After gravity reverses, move left under the right ceiling platform and jump down-left to the underside of the middle ceiling platform.
- From the middle platform's left edge, jump toward the central diamond and immediately jump left again to the underside of the left ceiling platform.
- Jump left into the upper-left finish, then press jump again while inside the finish to complete the Level.
Final cue: do not rest on the central diamond. Touch it, jump left immediately, then press jump again after entering the finish.
Safer approach and common failures
Safer approach: Release movement after every major landing. In the horizontal saw gap, follow its midpoint instead of standing still. On the ceiling return, treat the central diamond as a touch-and-jump transfer, not a rest point.
- Using one timing window for both vertical saws
- Jumping past the right horizontal saw before it reaches the far-right side and starts moving left
- Trying to rest on the central diamond during the ceiling return
- Detouring to the moon even though the tested finish worked while it remained present
- Waiting inside the finish without pressing jump again
Evidence chain: direct current-build completion S19.
What was and was not tested
Playtest boundary
- Test environment
- Headed Chrome 150.0.7871.114 on Linux (X11), software WebGL and keyboard input.
- Build and host
- Live Poki project version 1.3.1.1, checked July 31, 2026.
- Verified result
- Five World 8 finishes and the resulting World 9, Level 1 running state.
- Still unknown
- Moon requirements for Levels 1–4, mobile timing and future-build route changes.
All five rooms were completed from their normal starts using visible keyboard input. Read-only runtime observations helped identify moving objects and confirm the World 9 boundary; the session did not alter room objects, player positions or completion flags. GLM Vision was used only for low-cost image-description triage and is not route evidence.
Visible source record
Sources
- Open source ↗S19 Oozy's Lab World 8 current-build direct playtestOozysLabGame.com editorial playtest · direct current-version playtest on the official host · checked July 31, 2026
The playtest used the existing headed Chrome 150.0.7871.114 session on Linux (X11), software WebGL and keyboard input through an exact borrowed CDP target. Read-only runtime observations were used to identify room objects and preserve the World 9 boundary; no room object, player position or completion flag was changed. Local game-only screenshots cover all five World 8 starting rooms and three Level 5 route states. GLM Vision assisted only with low-cost image-description triage and was not treated as route evidence.
- Open source ↗S1 Oozy's Lab on PokiPoki · official game host · checked August 2, 2026
Poki's July 2026 release metadata is recorded separately from the developer page and forum launch dates. The moon wording is not treated as proof that every current level has the same completion condition. S13 directly completed the five tested World 1 Levels without collecting their moons.